Since my last post on the ArduSat and the idea I had to use the Supervisor node, an ATmega2561, as the core of a centralised eXtended RAM system for the Client nodes, ATmega328p “Arduino” devices, I’ve been thinking and working on a solution for building a centralised non-volatile SD Card based storage solution.
With design, sometimes it is necessary to let an idea stew for a while before the right answer just sort of distils out of the soup. For the solution for this problem, this was the case. There was some thinking space required…

The Question
There are 16 Client nodes in the ArduSat platform. Each and any of them may wish to use the central SD Card to store information at the same, or at different times. How would it be possible to allow more than 16 files to be open on the one SD Card (connected to the Supervisor node) whilst maintaining consistency in the file system? How would access to the file system be scheduled?
The Tools
I have been using the ChaN FatFs file system libraries now for some time. They are fully featured and have a very clean design, fully separating the file system layer from the underlying physical media access layer (the drivers). This means that the file system tools can be implemented on many different architectures, with only changes to the driver layer (DiskIO) needed for each platform.
The Thought Process
My initial thought was that the Supervisor node should maintain the file system, and that I should write packaging for the FatFs file system commands to allow them to be remotely implemented across the SPI bus, in a similar manner as described in the XRAMFS post.
The idea of writing these “remote controls” for the file system commands was scary, as I recognised that there are 33 commands in the interface, and each of them has their own characteristics. Also, maintaining these interfaces would likely be problematic, as I would have to test each command extensively to ensure that there were no “thick thumb” errors introduced into the stable and proven FatFs library.
Some weeks passed…
Then at about 3am, I realised that the right answer was to write a “shim” between the standard FatF file system commands and the standard physical media drivers, and to have this shim operate across the SPI bus in exactly the same manner as the XRAMFS solution.
So, I wrote it.
The Solution
The solution separates the ChaN libraries into two parts. The file system part is resident on the Client node. Each Client node maintains its own view of the file system on the Supervisor SD Card. As the ChaN FatFs library is written for low memory devices, the file directory tree is refreshed each time a change in the working file is done. The Supervisor node only does the DiskIO under the command of each of the Clients.
There are only 5 relevant driver layer DiskIO commands. These commands are used in the Supervisor node to execute requests sent over the SPI bus from the individual Clients. Since there are only a small number of commands, and they are static and dependent on the architecture of the machine they’re running on, their functionality is quite constant. The Supervisor has no knowledge of the file system at all. It simply implements DiskIO commands on sectors of the SD Card as requested, one a time, as requested by Clients.
The Supervisor implementation simply expands on the existing Task loop established for the XRAMFS system, by adding in the 5 additional DiskIO commands. The added complexity, that the SD Card is accessed over the SAME SPI bus as the communications between Client and Supervisor, means that I had to introduce an interim “Pending” state for commands to allow the Client to wait for confirmation that a task has been completed or, in the case of disk_read or disk_ioctl, to recover the waiting data from the Supervisor.
The Client implementation inserts different shim DiskIO commands for the FatF system to call. These commands use the SPI bus to call the Supervisor, and enter a request. Some commands return immediately, allowing the Supervisor to continue with the command, once the command and any required data has been transferred. Other commands wait until they can retrieve information from the Supervisor, before returning to the FatF file system layer of the library.
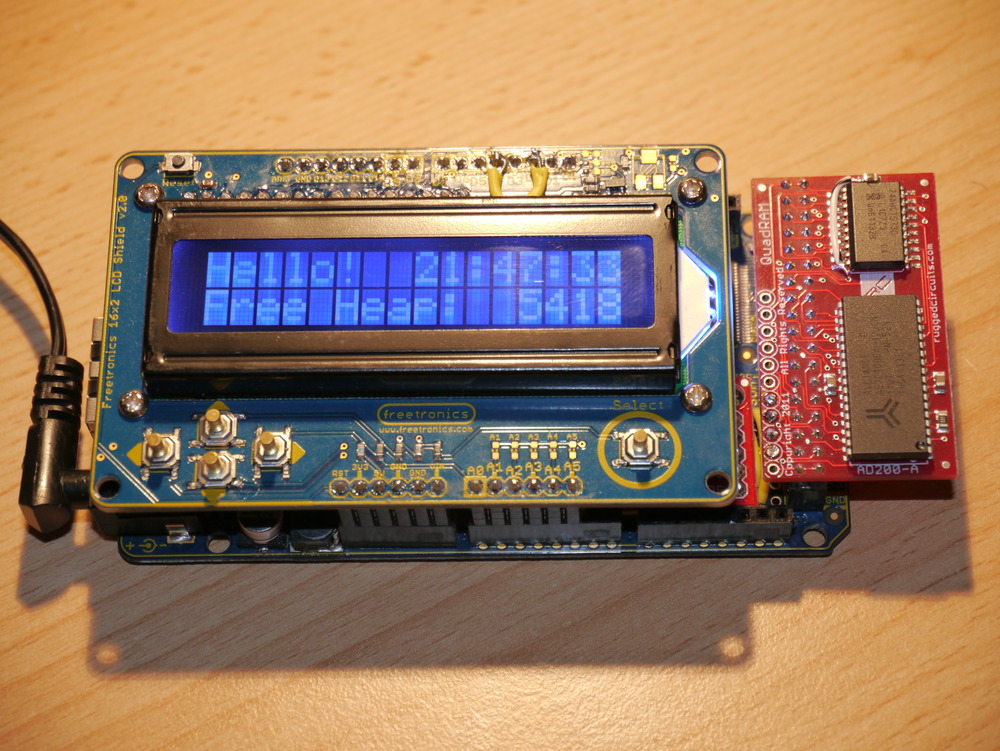
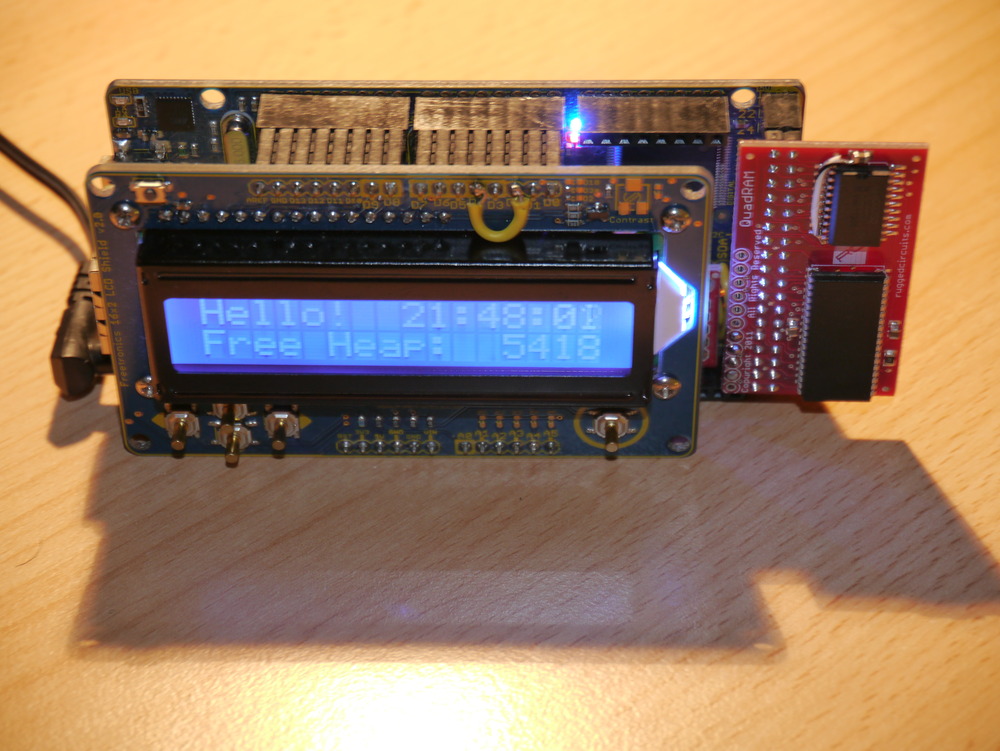
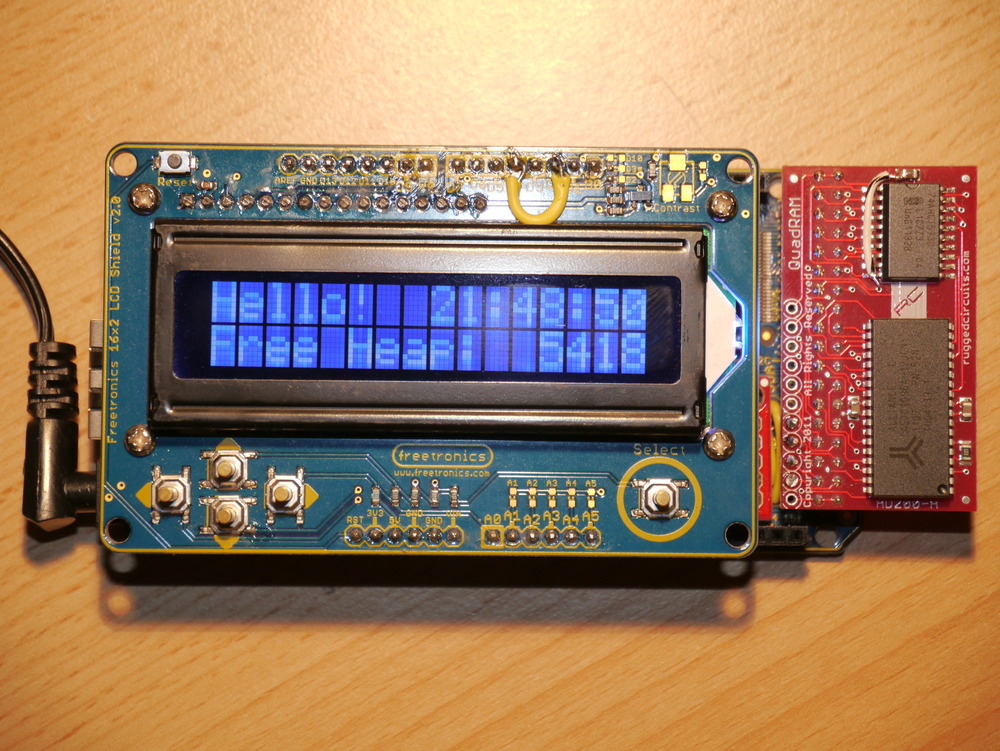
In this solution, the XRAMFS was instrumental in simplifying the transfer of information. The exclusive availability of 16kB of RAM for each Client meant that disk_write or disk_read commands could cache their data in XRAMFS whilst it was actually written to or read from the SDCard. Because the RAM is available exclusively, there is no consideration that another Client may overwrite the results of a command, or that memory exhaustion may corrupt data.
The code is available at Sourceforge in the usual location.
How does it work?
When a Client program calls one of the FatFs library commands, it in turn calls one of the special ArduSat SPI DiskIO shim routines. These routines signal the Supervisor in the normal manner, and transfer any data associated with the command into the Page of XRAMFS assigned to the Client.
The Supervisor will then undertake the standard DiskIO command, retaining the result of the command and any data resulting from the command in XRAMFS.
Both Client DiskIO routines, and the Task running in the Supervisor are aware of the “Pending” state, which is where a DiskIO command has been completed on the Supervisor and there is data waiting in the XRAMFS for the Client to recover.
Once the Client DiskIO command completes, it returns the normal interface information to the calling FatFs command.
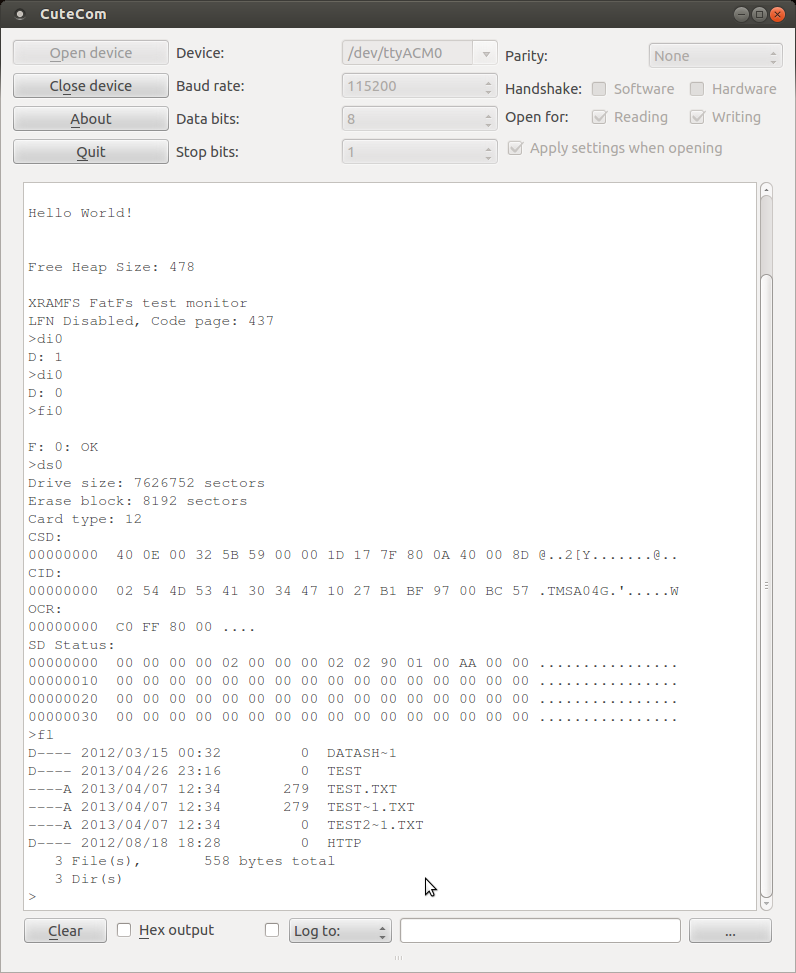
Here a monitor program on a Client is initialising the SD Card. If the Supervisor notices that the SD Card is not initialised, it will return Error, and then undertake to initialise the card. The second call for initialisation will then be successful. This decoupling method ensures that Clients cannot reinitialise the card, whilst other Clients may be using the Card.
The file system (on the Client) is then initialised Then, the SD Card status is read. Finally, the current working directory is read and printed.
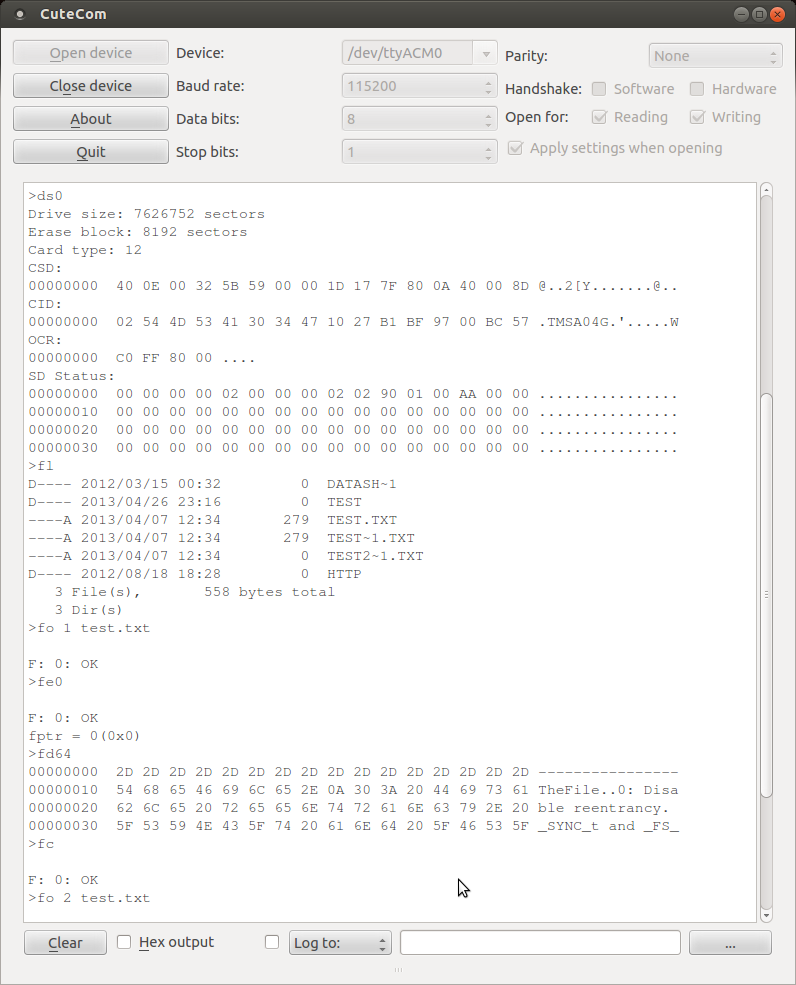
In this screenshot, a file is opened for reading, and the file pointer set to the start of the file. A dump of the first 64 Bytes of the file is read and printed. Then the file is closed.
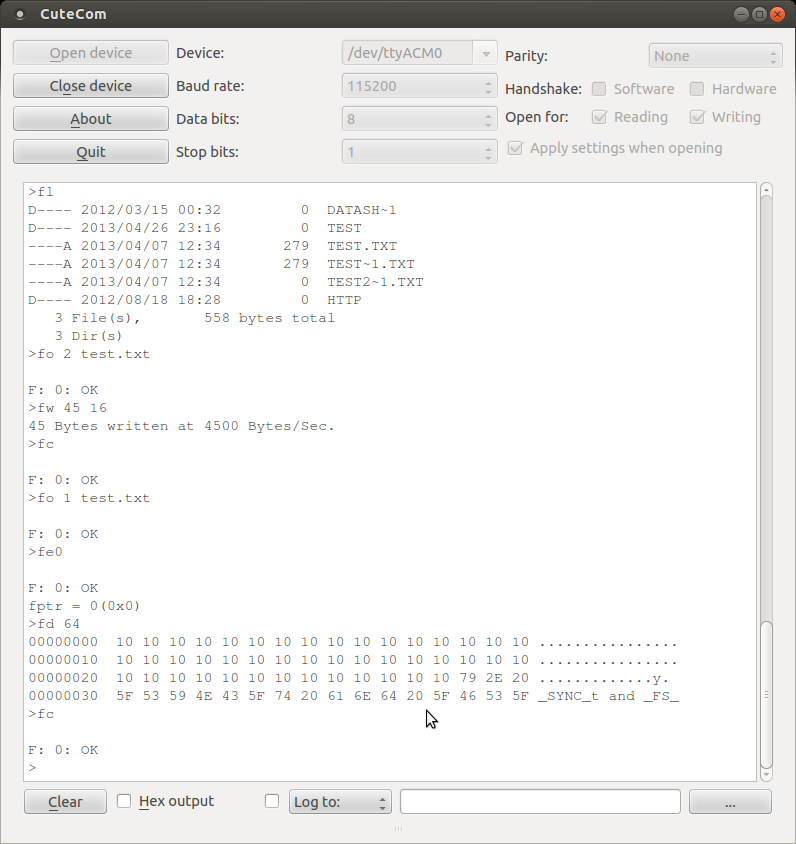
Here, the same file as above is opened for writing, and 45 bytes of 0x10 (16) are being written. The result is checked by opening the file for reading, and dumping the relevant bytes to the screen. Success!
Issues
The Client (Arduino) ATmega328p has so little Flash and RAM that implementing the FatFs consumes a significant proportion of the available resources. From the ChaN FatFs web site, at least 13 kByte of Flash (of 32 kByte on the Arduino), and 600 Bytes of RAM (of 2048 Bytes on the Arduino) are consumed by the library alone. This is excluding the working buffers necessary to prepare or process data for storage.
I was unable to fully test the FatFs solution, because of RAM and Flash limitations. I simply couldn’t turn on all the features. However, I have some confidence that the solution fully works, because the actual FatFs library is unchanged from the working solution that I’ve tested on the Arduino Mega platform. It is only the DiskIO routines that have been tampered with, and since they produce reliable results for some of the FatFs functions, there is every reason to believe they would work for all of the functions.
Thank you
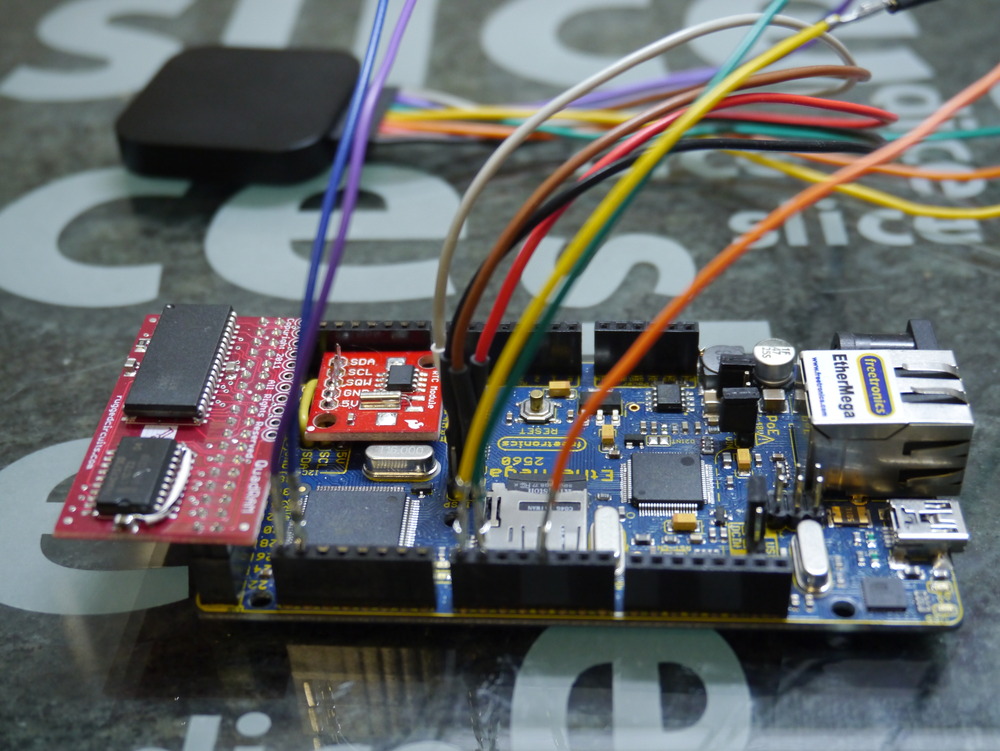
Jon for providing a new Freetronics EtherMega, so that I could complete the prototyping work.
ArduSat and NanoSatisfi for running a great project, which inspired this thought process. Possibly, this work might be useful for one of the launches over the coming years.