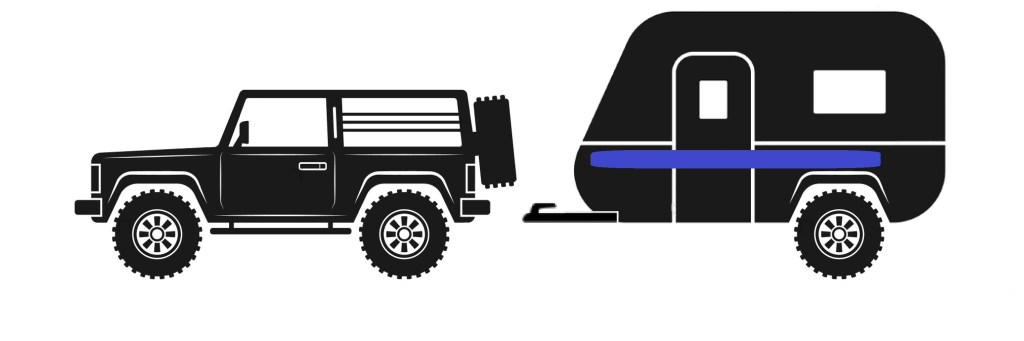
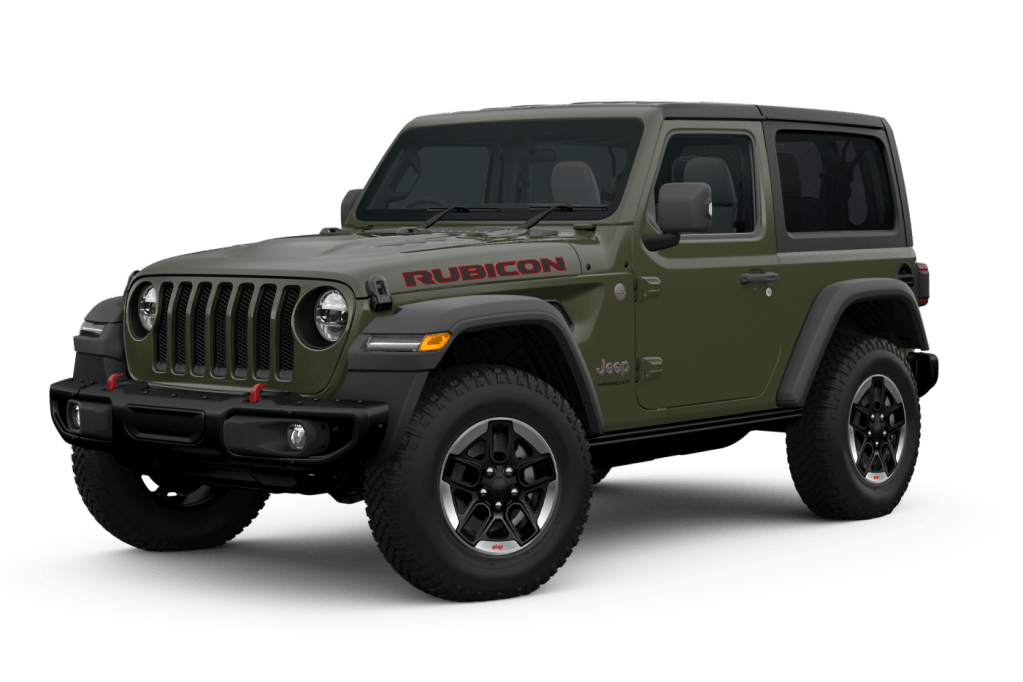
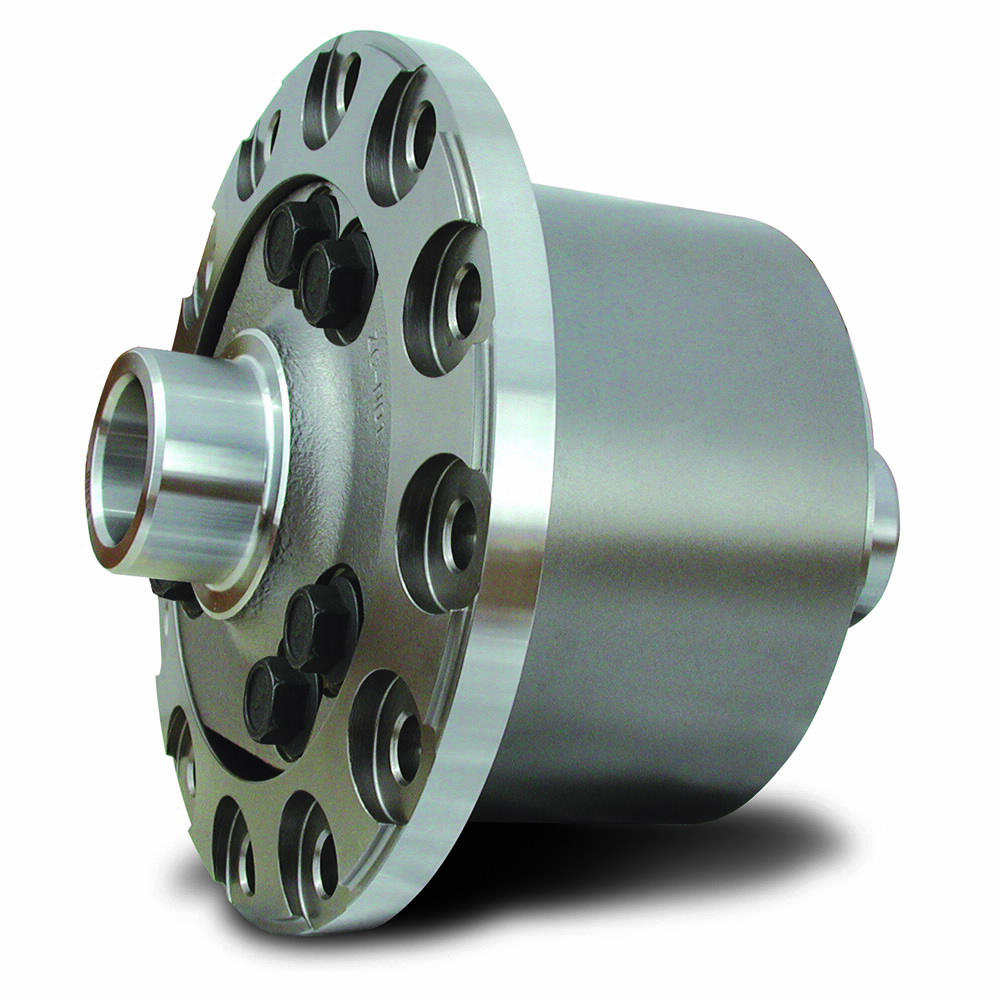
In November 2022 Eaton launched their Truetrac differential for the Jeep Wrangler JL and Gladiator JT. This provides a new option to increase the on-road (and off-road) traction performance of current generation Wrangler and Gladiator vehicles.
So here I’ll discuss the various cross-axle differential systems, their general characteristics, and their relevance to use in the Jeep JL and JT vehicles, and my specific experiences in installing an Eaton Truetrac in a Wrangler JL Rubicon.
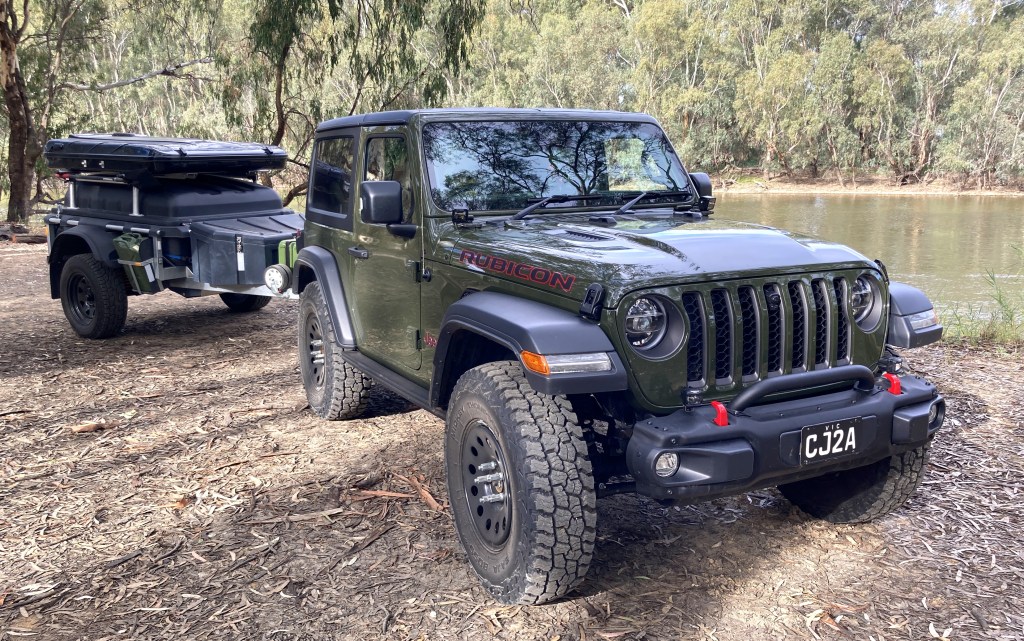
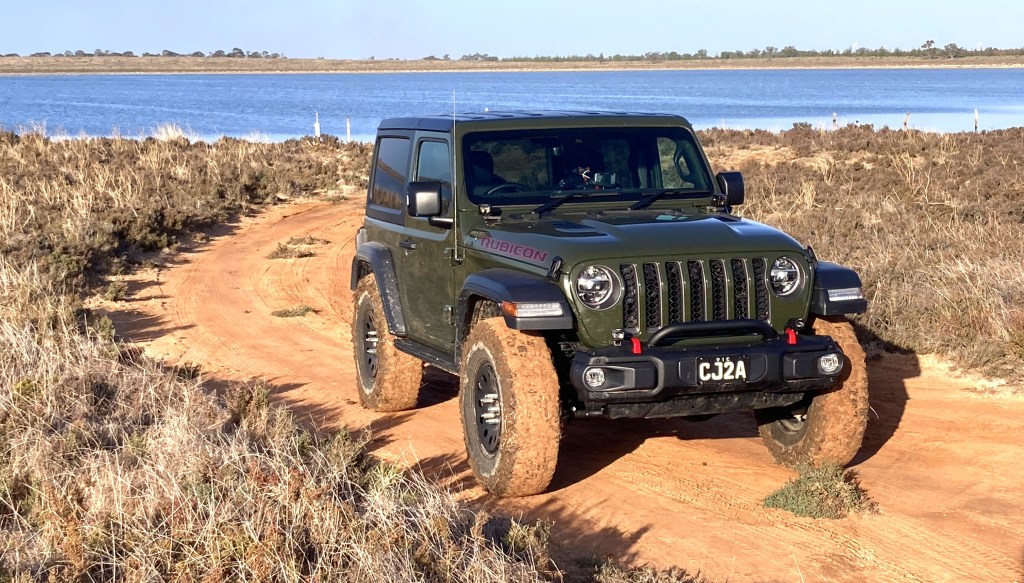
The Jeep Wrangler JL is perhaps one of the most capable off-road vehicles available off the showroom floor, so how could we improve on either of the lockable cross-axle differentials installed from the factory?
In my opinion, the factory installed standard solution, using a selectable lockable open rear cross-axle differential, is not the right solution for the most driving situations. But rather the rear “locker” is only the best option for some extreme off-road rocky terrain situations that occur very infrequently (except in the minds of the Jeep marketing department).
This discussion suggests that in almost all traction situations a Torsen cross-axle rear differential will outperform a selectable “locker” open differential, and further will optimise the traction performance of the vehicle mated with the Jeep BLD system.
Differential Types and Mechanics
About 5000 years ago in Mesopotamia the first wheeled Chariots appeared. These early wheeled vehicles used freely rotating wheels attached to the end of a fixed (non-driven) axle, and that remained the case throughout the era of horse power.
It was only with the invention of the steam-engine and locomotion in the 1820’s that the axle needed to drive the wheels, and be driven by motor power, and later in automobile applications there was a need to allow the speed of the driven wheels to vary relative to each other, and the cross-axle differential gear was invented and patented in 1827 by Onésiphore Pecqueur.
Open Differential
The cross-axle open differential allows the speed of the two half-axles to vary from 0% to 100%, and it delivers constant torque split to each half-axle. The ratio of the torque split is set by the size of the side gears relative the pinion gears. Usually (always) in automotive cross-axle applications the side gears are equally sized and this splits the torque exactly half to each half-axle, i.e a 50:50 split of torque. Interestingly, the first use of an automotive cross-axle differential was by an Australian in 1897 in his steam powered car.
It is worthwhile to introduce Newton’s Third Law in terms of torque delivered to an object (half-axle or drive shaft): for every action (torque) there is an equal and opposite reaction (torque). The statement means that in every interaction, there is a pair of torque forces acting on the two interacting objects. The size of the torque on the first object equals the size of the torque on the second object. The direction of the torque on the first object is opposite to the direction of the torque on the second object.
This means that although we often talk about the engine torque delivered through the drive shaft when speaking about a cross-axle differential, what we’re really interested in is the reaction torque generated by friction or traction from the ground to the tire (wheel) attached to the end of the driven half-axle. It must be understood that the engine torque delivered to a half-axle will always equal the reaction torque generated by the tire (wheel) on that half-axle. If the tire (wheel) has no traction it cannot provide a reactive torque, then the engine will not deliver torque to that half-axle.
Over time the shortcomings of the open differential became obvious when different road surfaces supported unequal wheel torque, such as when one wheel is on ice, mud, or is not in contact with the road at all. In an open differential the maximum torque delivered by the engine will be twice the minimum torque reaction from one of the wheels, ignoring friction from the vehicle driveline. Therefore if one wheel is on ice supporting almost no torque reaction, then the engine will only be able to deliver torque as if both wheels were on ice. If one wheel is in the air, then similarly the engine will deliver torque as if both wheels are in the air (i.e. no torque at all).
Limited Slip Differential
In the 1960s high power USA “Muscle Cars” started to use limited-slip differentials to prevent the “one tire fire” as their available engine torque would be more than twice the minimum wheel reactive torque which would cause the weakest (lowest friction) tire to break traction reducing its reactive torque capability to almost zero, and as a result the overall torque delivered by the engine would drop to almost zero and the car would sit “smoking” a single wheel. The limited slip differential helped to overcome this problem by using clutch packs or springs to set the minimum torque delivered to each wheel. This means that the torque delivered to each wheel is not able to go to zero, but is set to a minimum value determined by the clutch spring design, however the torque split remains exactly 50:50 as in an open differential.
The limited-slip differential goes a long way to solving the issues encountered by high powered vehicles both on-road and off-road, but it does introduce an additional maintenance as clutch packs in the differential need to be maintained, and they will wear out often if used aggressively.
Locking Differential
For off-road and some extreme on-road applications locking differentials have become very popular. When activated, locking differentials effectively return the axle to a solid locomotive beam axle, and this inverts the torque and speed relationship of the open differential by holding the wheel speed relationship to be constant equal to 1:1 but allowing the torque reaction from each wheel to vary from 0% to 100% depending on what is available. Therefore if a wheel is in the air, it will produce 0% reactive torque forcing 100% reactive torque to be produced by the other wheel, but both wheels will rotate at exactly the same speed. Using a locked differential or “spool” is only useful in extreme situations, and the lock cannot be left permanently engaged. A locked or solid axle will make it very difficult to turn the vehicle, as it will want to travel in a straight line with both inside and outside wheels rotating at the same speed, so it cannot be used in most situations. To overcome the drivability limitations the spool or solid locomotive axle produces both automatic and selectable locking differentials have been produced.
Automatic locking differentials such as the “Detroit Locker”, or the “lunchbox locker”, are constructed with each wheel connected to the drive shaft via a freewheel gear which, when the vehicle is moving in a straight line, will allow the torque to to each wheel to vary from 0% to 100% as in a solid single axle, but when cornering will allow a faster moving (outside) wheel to over-rotate freely, while providing torque to the slowest moving (inside) wheel. The main disadvantage of this solution is that, when travelling around a corner, drive torque is only available to the inside (slow) wheel while the outside (fast) wheel is freewheeling, but as the inside wheel is the most lightly loaded in cornering it is usually least capable of providing reactive torque. Also drive to the inside wheel produces poor vehicle dynamics, tending to kick the rear of the vehicle out, and this is used extensively in drifting where going sideways is a good thing.
Selectable locking differentials, such as the Jeep eLockers fitted to the Wrangler JL Rubicon, allow the driver to choose whether the differential is in open mode (the usual case) or set to locked mode when needed. The driver is forced to select between the two extremes, either locked torque and open speed (the open differential) or locked speed and open torque (the locked differential), depending on what might best suit the expected traction situation.
So then the question is when should the differential be locked?
And the answer is: it depends. Essentially, the driver is trying to guess the vehicle traction dynamics, which usually change rapidly. Usually in technical off-road driving the driver will first attempt an obstacle with an open differential, and only when they have failed the obstacle will they will engage the differential lock and try again. Very much a trial and error solution.
Whilst it is possible for the driver to actively select either open or locked differentials in low speed technical off-road situations, it is not practical for the driver to undertake this decision every time they face a different real world low traction or differentiated traction situation. In every day situations of low traction, such as accelerating from a country dirt roadside (one wheel on dirt, one wheel on tar), or crossing a curb, or snow or slush on the roadside, sand and rock, ice patches, or any other impossible to predict situation it is certain that the vehicle will be running with an open differential and will therefore face the limits of unbalanced wheel traction.
Torque Sensing Differential (TORSEN)
Ideally the vehicle cross-axle differential would immediately sense which wheel can provide the greatest reaction torque and adjust (or bias) itself to deliver the available engine torque to that wheel without any conscious input from the driver.
In 1958 Vernon Gleasman patented the torque sensing or Torsen differential, which uses the gear separation forces and friction generated by the sun planet worm gear to provide cross-axle torque biasing. The Torsen differential works because when input torque is applied to a helical gear, it creates a series of thrust forces that push that gearing into the differential casing. When these forces push against the wall of the differential casing, that contact creates friction. As the torque load increases so do the forces and so friction increases in proportion to the amount of torque applied. That gives the Torsen differential the ability to support a lot of reactive torque (traction) imbalance when under heavy throttle conditions, yet it still can differentiate freely and smoothly at low engine torque levels, so the car is docile and easy to drive and manoeuvre.
The Torque Bias Ratio (TBR) is a measure of how strongly the Torsen differential will lock. The higher the TBR setting, the more aggressive the traction performance locking. The TBR represents the ratio of high traction to low traction that the Torsen differential can allow while remaining locked. Typical TBRs in production Torsen differentials ranges from 3.5:1 in the Eaton Truetrac, to 2:1 to 6:1 in the Quaife ATB depending on the specific application for front or rear cross-axle.
To extend the TBR concept to other differentials it can be seen that the open differential or a clutch based limited slip differential provides a TBR of 1:1, as the torque split is fixed 50:50 by design. A locked or spool differential has an infinite TBR, as the ratio between the two axles’ torque can be up to 100:0, where one wheel can possibly deliver 100% but the other delivers 0% torque,.
It is worth noting that the HMMVW, perhaps the most iconic modern off-road vehicle, uses two cross-axle Torsen differentials. Although the Torsen differentials provide the best traction for the military cross country application, the fact that the military KISS principle applies and there is no operator input required (unlike a selectable locking differential) and no additional maintenance procedures are needed (unlike a clutch based limited-slip differential) probably also contributed to the US military’s decision to use Torsen differentials in the HMMVW.
Brake Locked Differential
The Jeep JL/JT range are equipped with an Electronic Stability Control system which consists of Stability Control, Traction Control, and Brake Locked Differentials. These electronic assistance systems are independent of the type of mechanical cross-axle differentials installed.
Usually for extreme off-road usage in 4WD Low Range the Stability Control and Traction Control systems will be disabled, but the Jeep Brake Locked Differential system cannot be disabled.
The purpose of BLD is to simulate true locking differentials, described above, in order to provide additional torque to the wheels with traction. A Jeep JL/JT equipped with BLD will be able to successfully navigate many obstacles similarly to a vehicle with true locking differentials.
The Jeep JL/JT has speed sensors on each wheel and therefore it is able to know when one wheel is spinning faster than the wheel on the opposite half-axle. When it senses one wheel spinning and the other not, it automatically applies the brake force to the spinning wheel using the ABS system. As in an open differential the torque is split 50:50 and now that the braked wheel is providing reactive torque, then so is the wheel with traction. In many cases the extra torque is enough to keep or get the vehicle moving.
The BLD feature does not care how fast the wheels are turning, nor does it try to limit how fast they’re turning, so long as they are turning at the same speed.
The JL/JT Rubicon Off-road+ mode further accentuates the standard BLD capability by intervening much more quickly and aggressively when a wheel speed differential is detected.
When a vehicle is equipped with a Torsen differential the BLD system will function normally but it will be much more effective as the brake reaction torque from the braked (spinning) wheel will be multiplied by the TBR, 3.5:1 in the case of the Eaton Truetrac, providing 3.5 times more available drive torque to the other wheel than from an open differential from the same BLD brake force application.
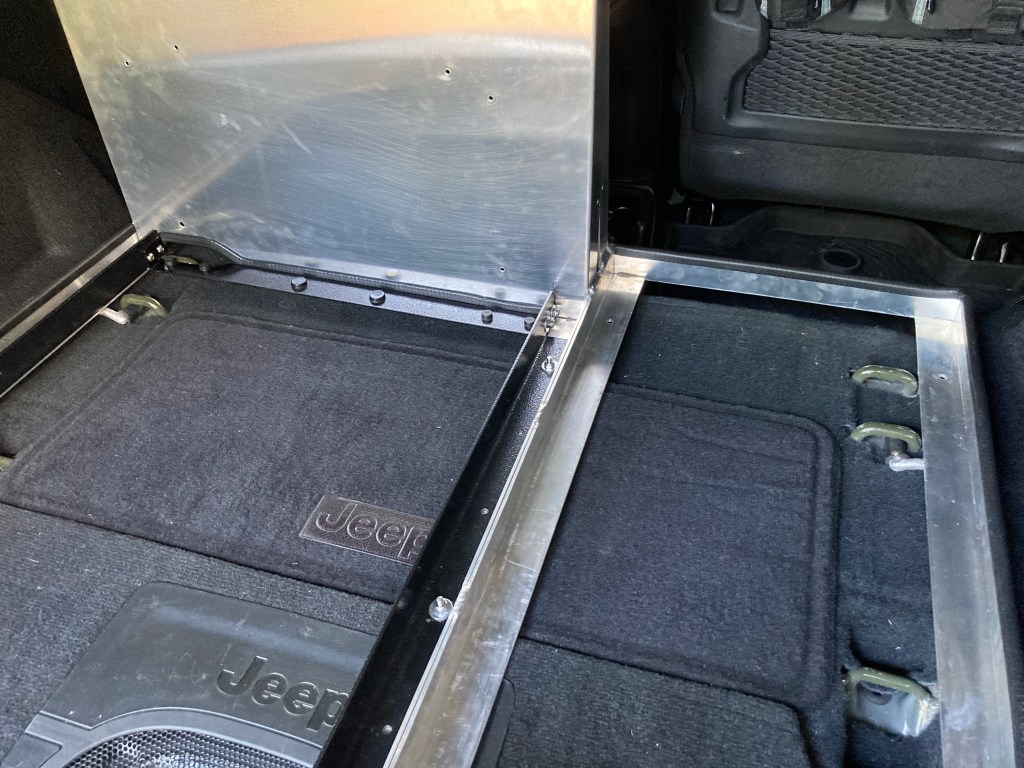
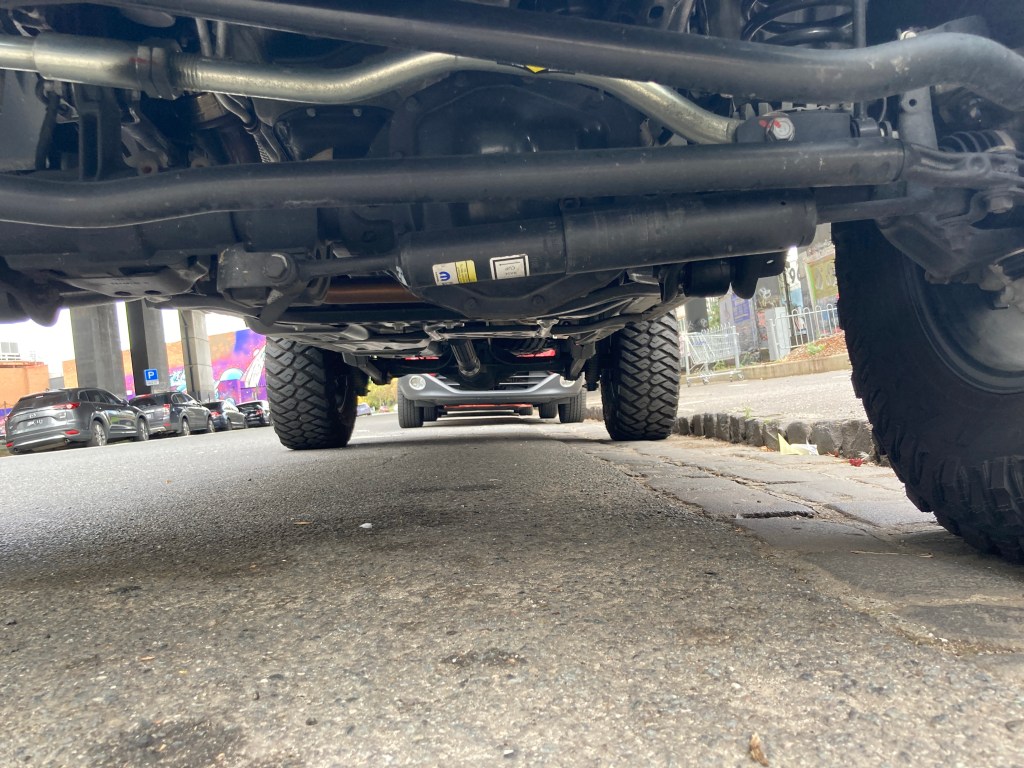
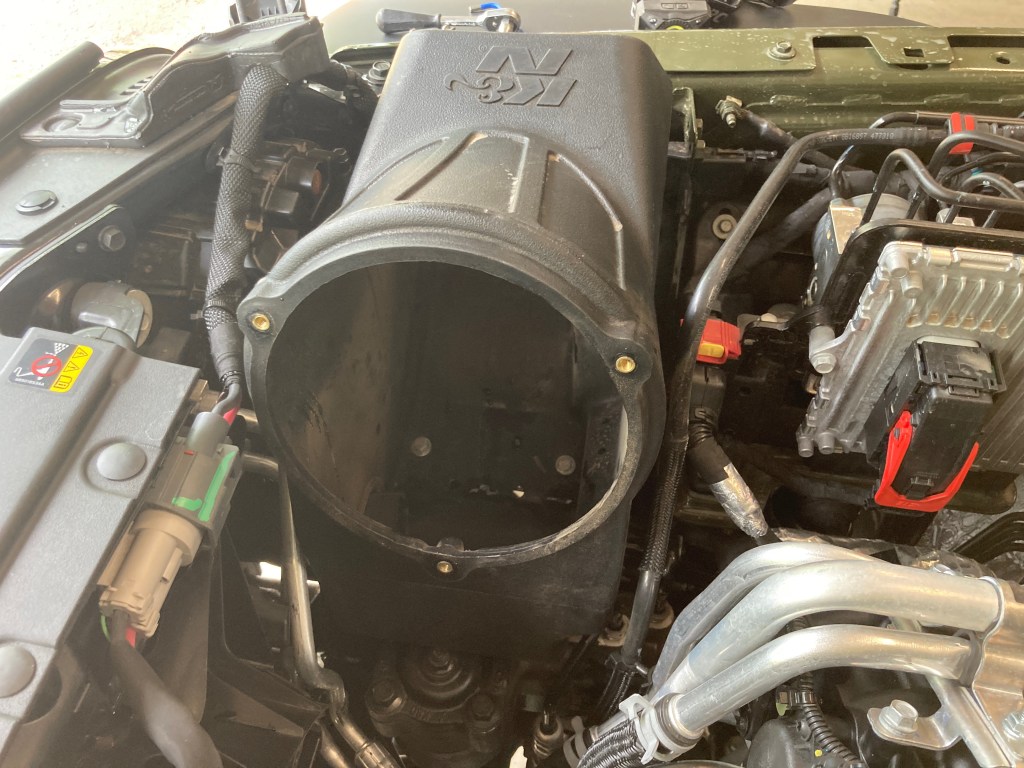
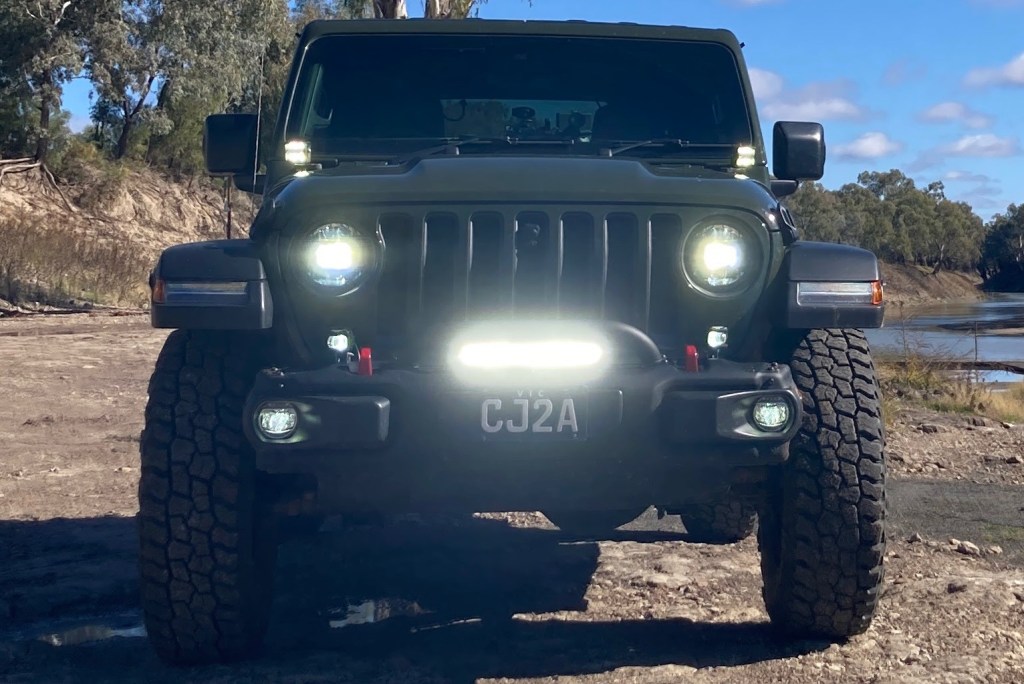
Installation for Wrangler JL Rubicon
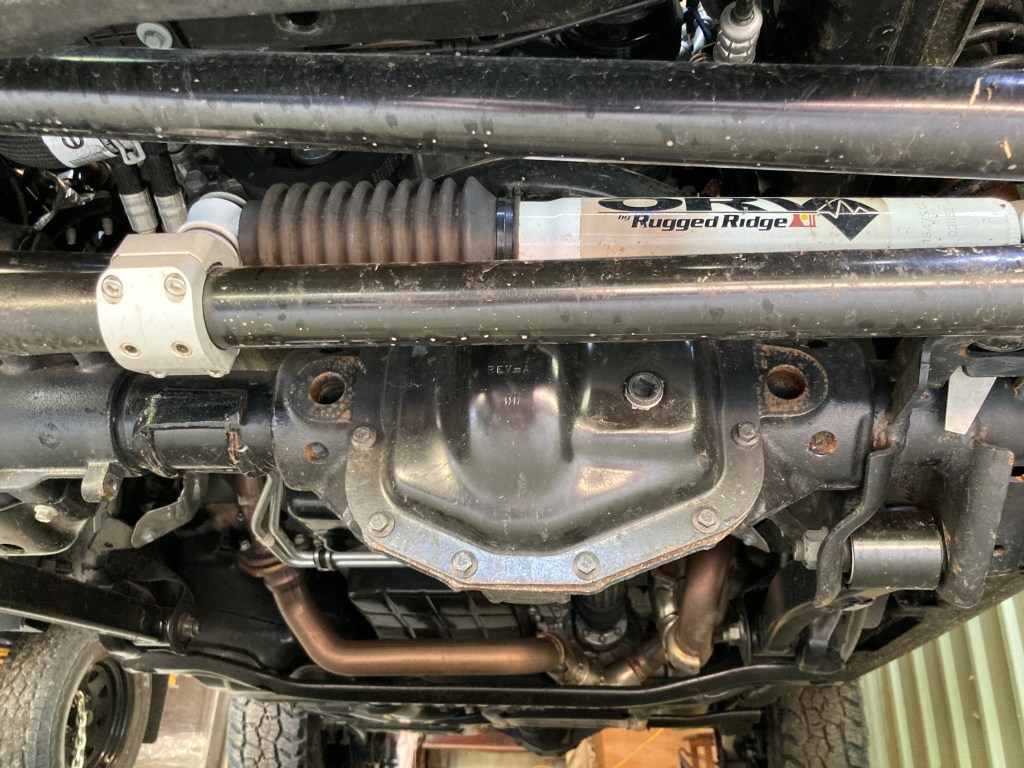
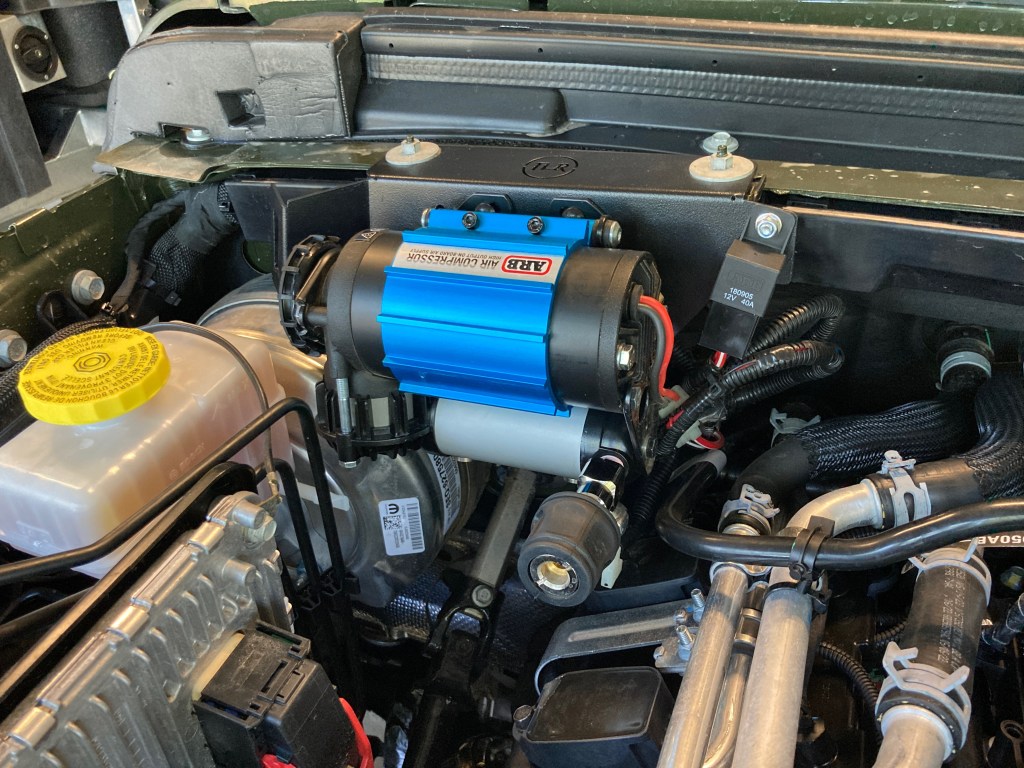
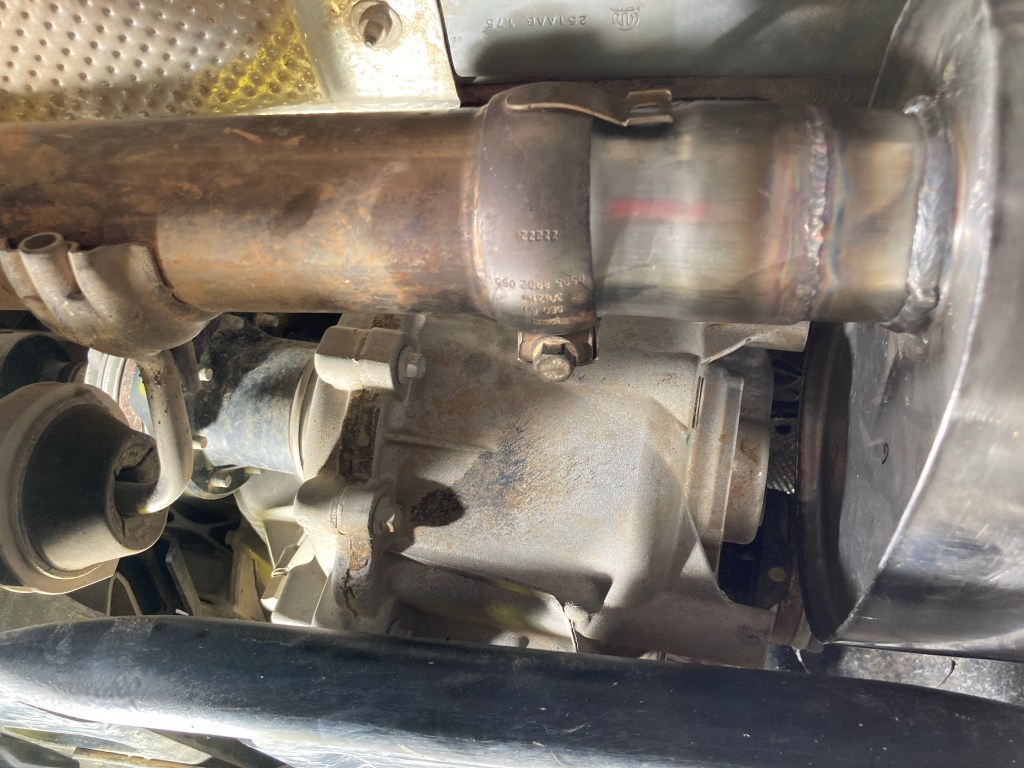
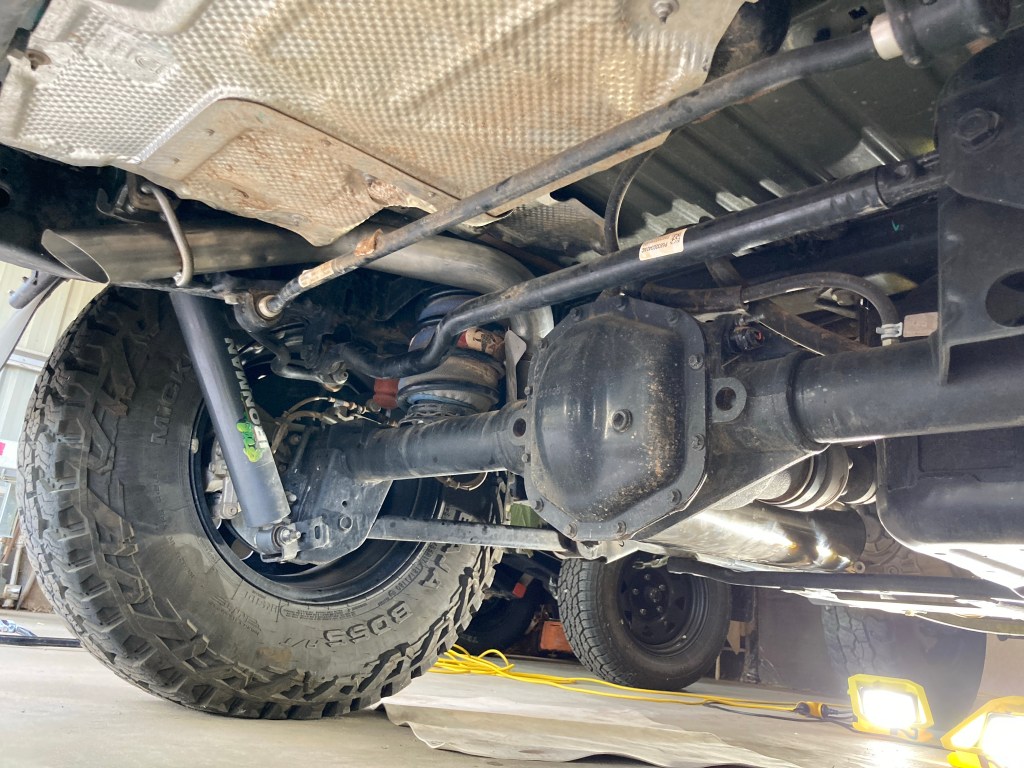
The new Eaton Truetrac 917A736 for the Wrangler JL and Gladiator JT is specified for all Dana 44 M210 and M220 axles, being for both front and rear cross-axle differentials. The JL/JT Truetrac is a 4 pinion implementation, the strongest that Eaton produces. This joins the existing availability of the Nitro Helix Torsen differential also available for the Wrangler JL or Gladiator JT.
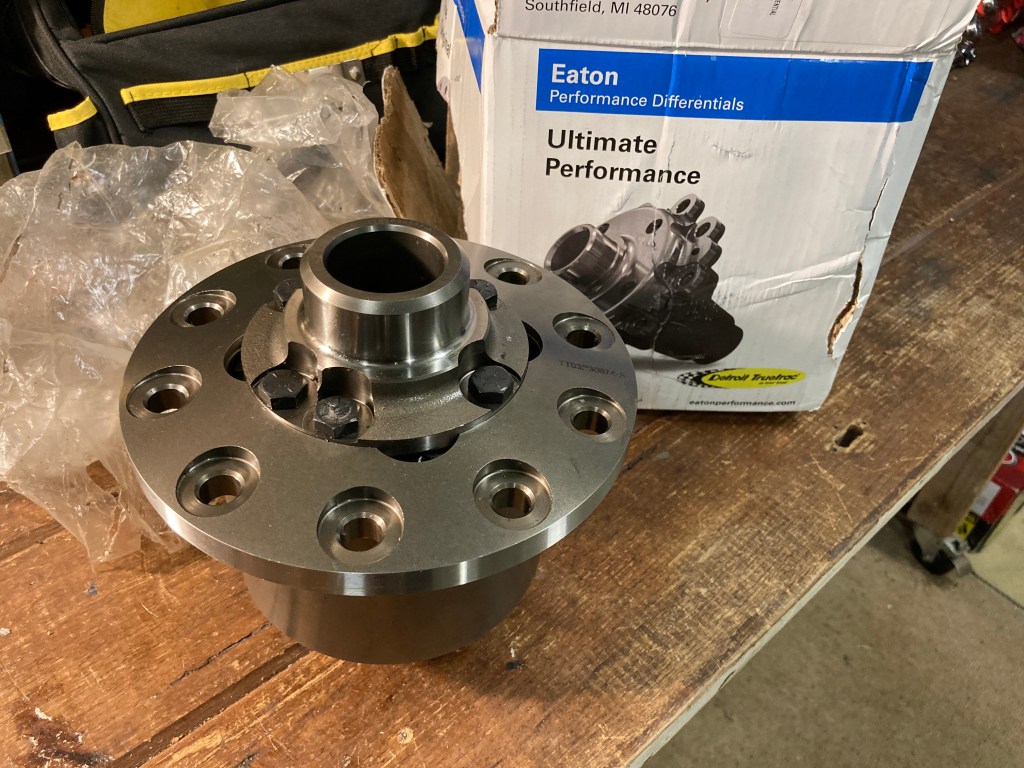
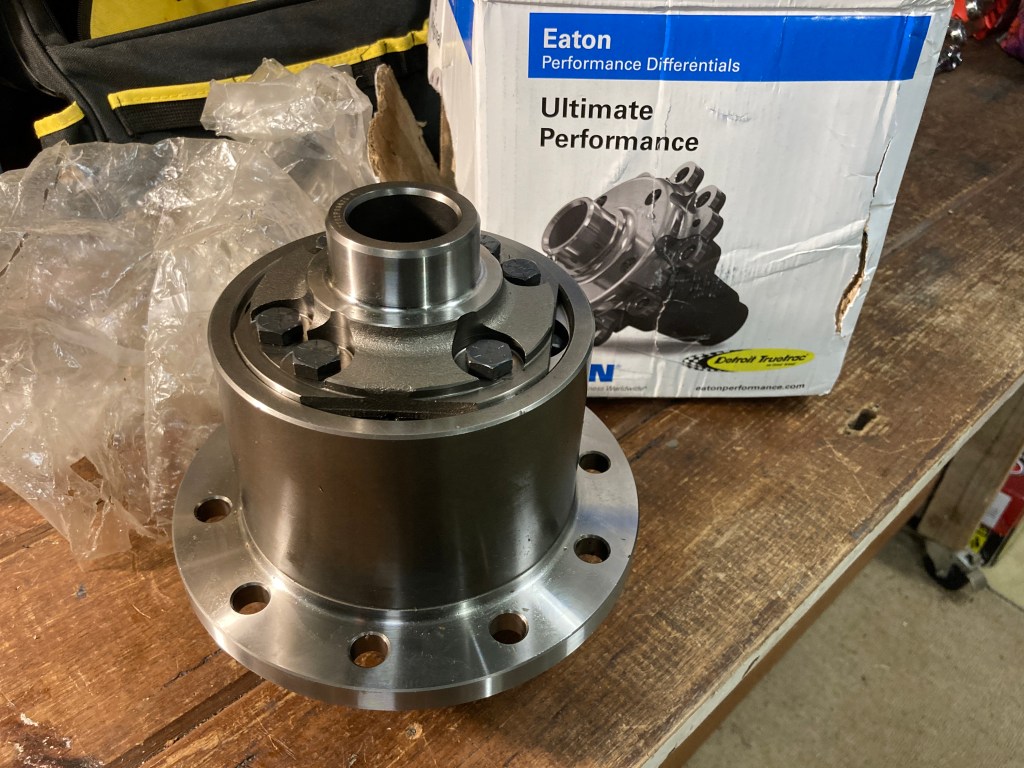
For reference, the Eaton Truetrac 917A736 is available in Australia from Harrop Engineering, though I used Summit Racing in the USA to obtain my example.
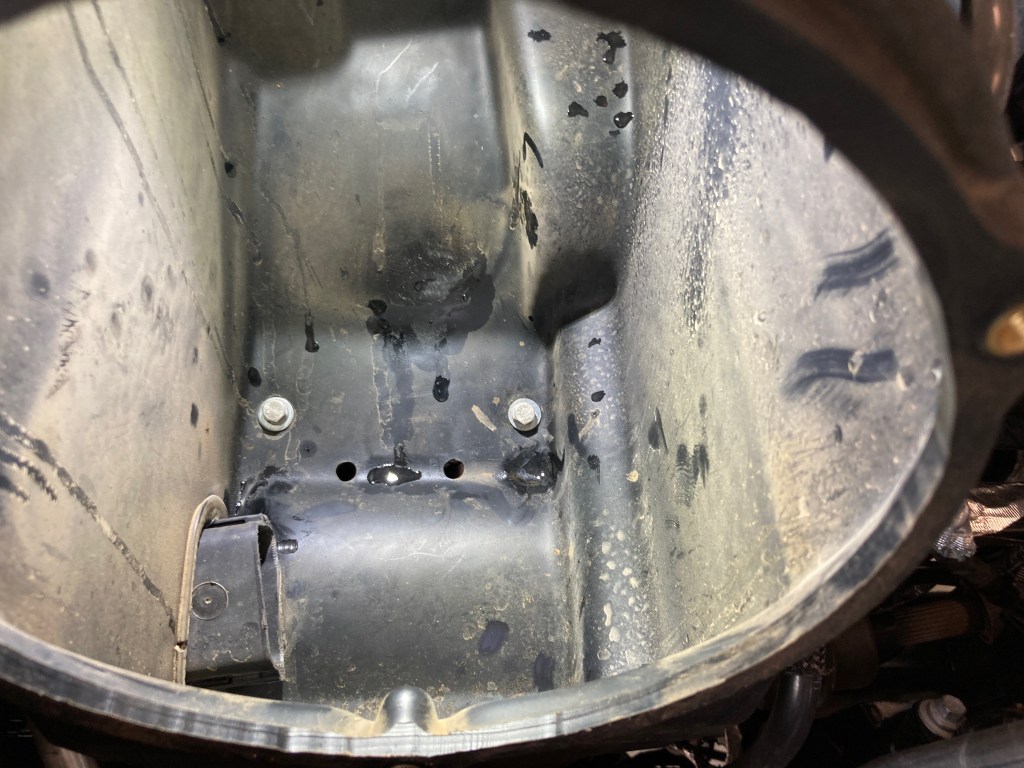
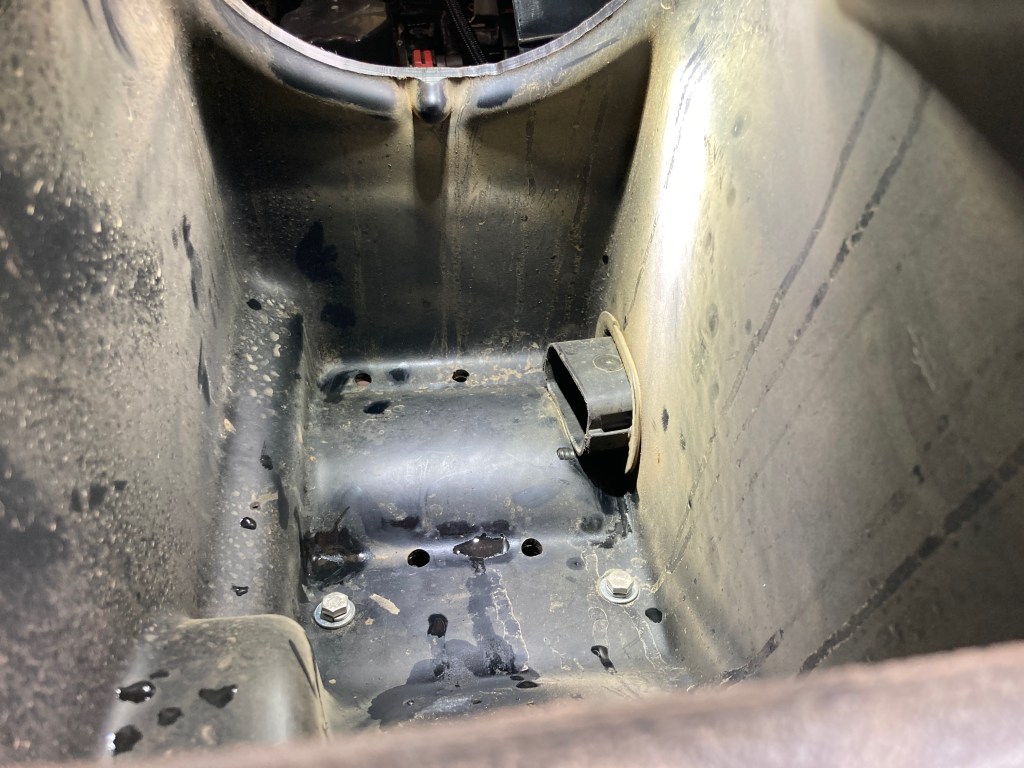
Eaton provides a master installation kit K-D44-220 for the Jeep JL/JT rear axle application. This installation kit should be obtained with the Truetrac differential, as the carrier bearings are only available from Jeep, and are exorbitantly expensive.
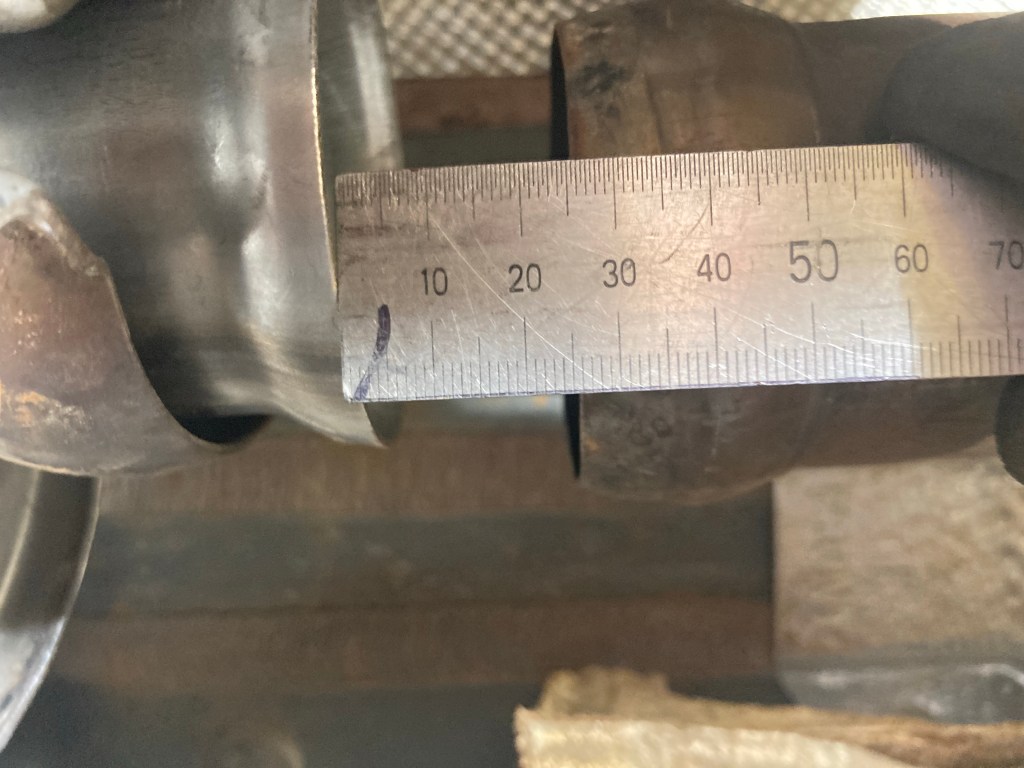
It must be noted that the Eaton 917A736 is not specified to be compatible with the JL/JT Rubicon trim level. This is because the Rubicon is already fitted with an electrically selectable Jeep eLocker, and the Rubicon rear axle lengths are different to the standard axles.
To fit the wider differential centre in the Truetrac differential, one standard length Wrangler JL/JT rear axle (32.3″) is required for the right hand side, as the Rubicon right hand rear axle is 33.9″ and is too long and will not fit. It is best to buy this axle in preparation. As I had not purchased the correct axle in advance a Crown JK Rubicon RH axle was used.
For other Wrangler JL or Gladiator JT trim levels such as Sport, Sahara, Night Eagle, or Overland, it should be quite straightforward to install the Eaton Truetrac TORSEN differential.
Z Locker OEM
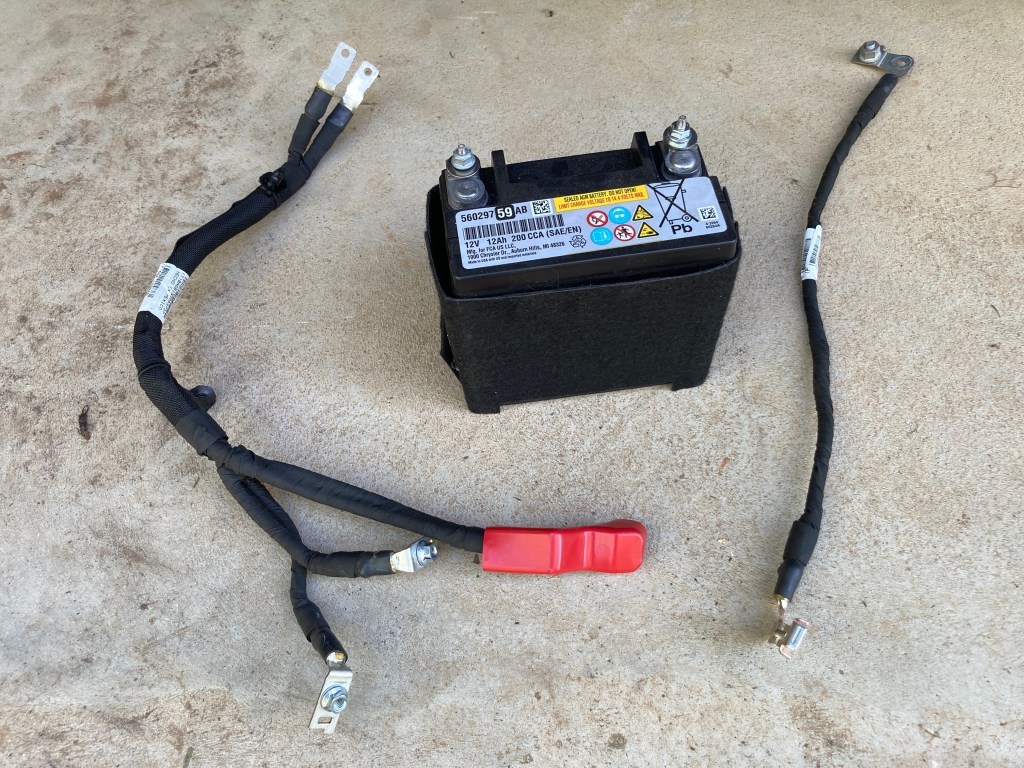
As the Rubicon drivetrain management system is set to support both front and rear Jeep selectable eLockers, by removing the existing rear differential and sensors the drivetrain management system would believe that there is a system fault, and would generate system errors preventing both eLockers from being engaged.
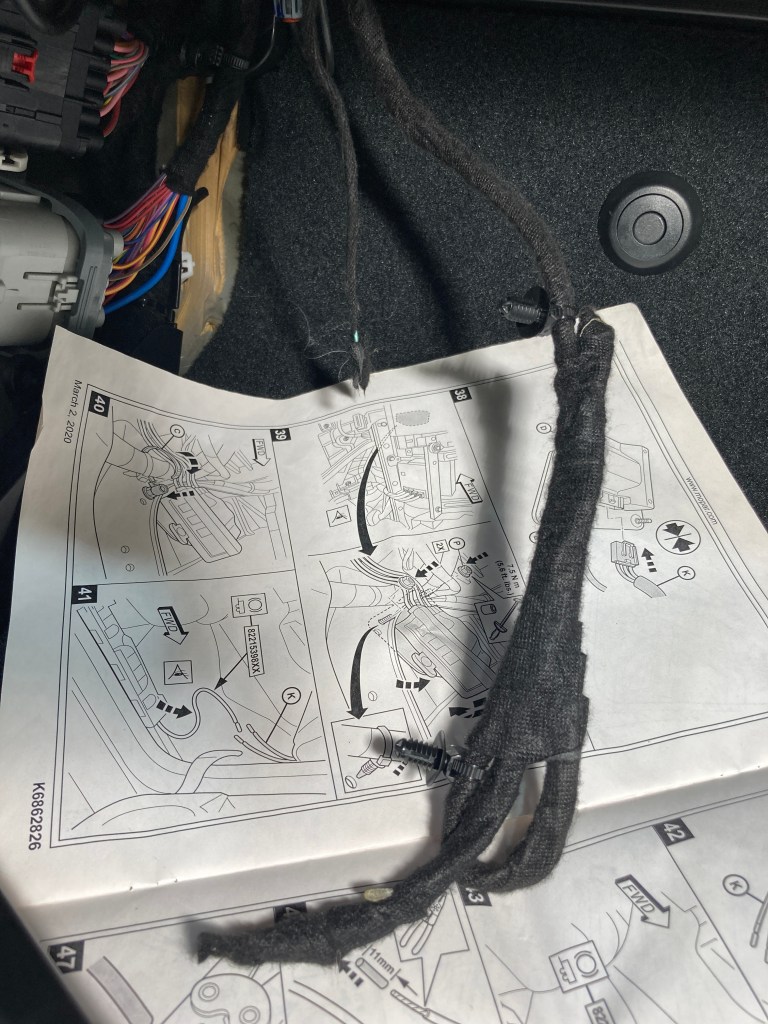
However there is a product from Z Automotive called Z Locker OEM to resolve this issue. This part is designed to spoof or fool the Rubicon drivetrain management electronics to overcome the fault inherent in the Rubicon selectable locking differential whereby when a locking actuator sensor fails it causes the vehicle electronics to believe that the locker is inactive and therefore register a system fault, preventing the use of both front and rear differential lockers.
The Z Locker OEM can be installed to the Rubicon rear eLocker wiring, but not connected to the rear differential housing, and the entire axle wiring loom is then zip-tied up out of the way under the vehicle body. The Rubicon electronics believes the rear selectable locker is functioning normally, which also allows the front selectable locker to function normally and the rear selectable locker to be replaced with the Eaton Truetrac differential.
Overall 4WD System
Note that this discussion is relevant to the Jeep JL/JT rear cross-axle differential only. Whilst Torsen differentials can be used very successfully with high power front wheel drive vehicles and in the front axle of 4WD vehicles, in the specific case of the Jeep JL/JT Rubicon with an existing selectable locking open differential it is sensible (cost effective) retain that capability in the front axle. Other Jeep JL/JT trim levels should use either a Torsen front cross-axle differential, similar to the HMMWV but combined with the Jeep BLD system, or to use a selectable locking differential, similar to the Rubicon eLocker.
When used in 4WD Part Time mode the Wrangler 4WD system uses a locked clutch centre transfer case which will allow 0% to 100% torque split between front and rear cross-axles, and using the selectable locked front cross-axle differential from 0% up to 100% of the available engine torque can be directed to either of the front wheels. This allows the entire engine torque to be delivered through one front wheel, should it be able to provide sufficient traction. Several real world tests suggest that if one cross-axle can be locked, then it should be the front axle.
As the Torsen cross-axle differential responds instantly to changes in cross-axle dynamic traction, it continually optimises the torque balance between the left and right wheels. Any tire slippage is sensed within a few degrees of rotation (based on internal gear lash which is no more than 1 or 2 degrees), and torque is biased to the other axle and tire. If the slipping tire cannot support any traction and starts spinning freely then the Jeep BLD system will intervene and its effectiveness will be enhanced (multiplied) by the Torsen TBR further improving the outcome.
By using a Torsen cross-axle differential in the rear axle we’re optimising traction in 2WD, 4WD high range, and 4WD low range, on all differentiated friction on-road and off-road surfaces, whilst adhering to the KISS Principle. So we’re generating the best available traction for most surfaces, all of the time, with no need for operator intervention. And, by retaining the front cross-axle lockable open differential, we have a traction solution for any remaining extreme 4WD low range situations (with one wheel on each axle off the ground, for example).
Testing Results
Check back late July 2023 for more extreme testing, but initial experience backs the discussion above. Acceleration in 2WD is balanced and smooth from soft muddy verge to sealed road. Muddy tracks are no problem in 2WD. So far in a very wet and muddy June/July, there’s been the expected good result.
On Rocky Track, Toolangi State Forest, there was no problem with rocky terrain. Performance was similar to other JL/JT vehicles on the trip. There was no need to reach for the locking front differential.
On sand the results are very good. Big Dune, in the Big Desert State Forest, usually poses a serious challenge for most vehicles but here was easy and controllable.
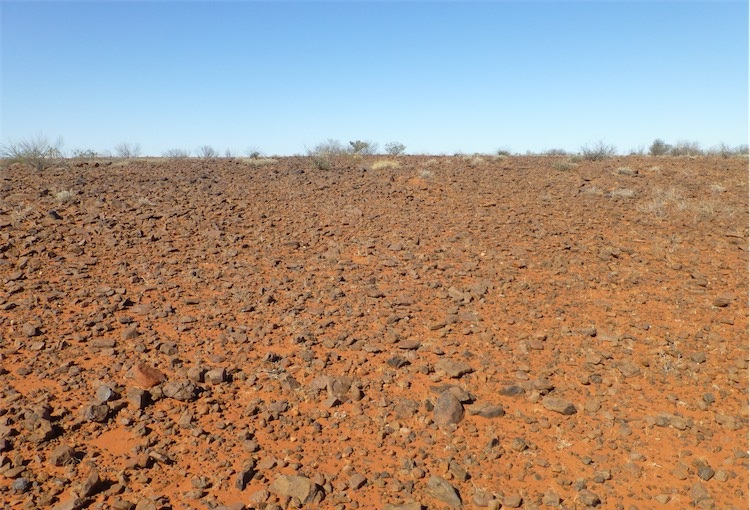
Driving in the Flinders Ranges (Echo Camp Backtrack, Mt Buggery Gorge, Mt Samuel, Skytrek) means shale and loose rock surfaces. It is noticeable that large pieces of loose rock are not thrown out by the rear wheels, but rather when a loose unstable rock under a wheel begins to slip torque is biased to the other wheel and nothing is thrown out. This is in contrast to other open differential vehicles I was following on the tracks, which would often be seen digging holes in the track’s climbs and they would also throw rocks out the back of their vehicles.
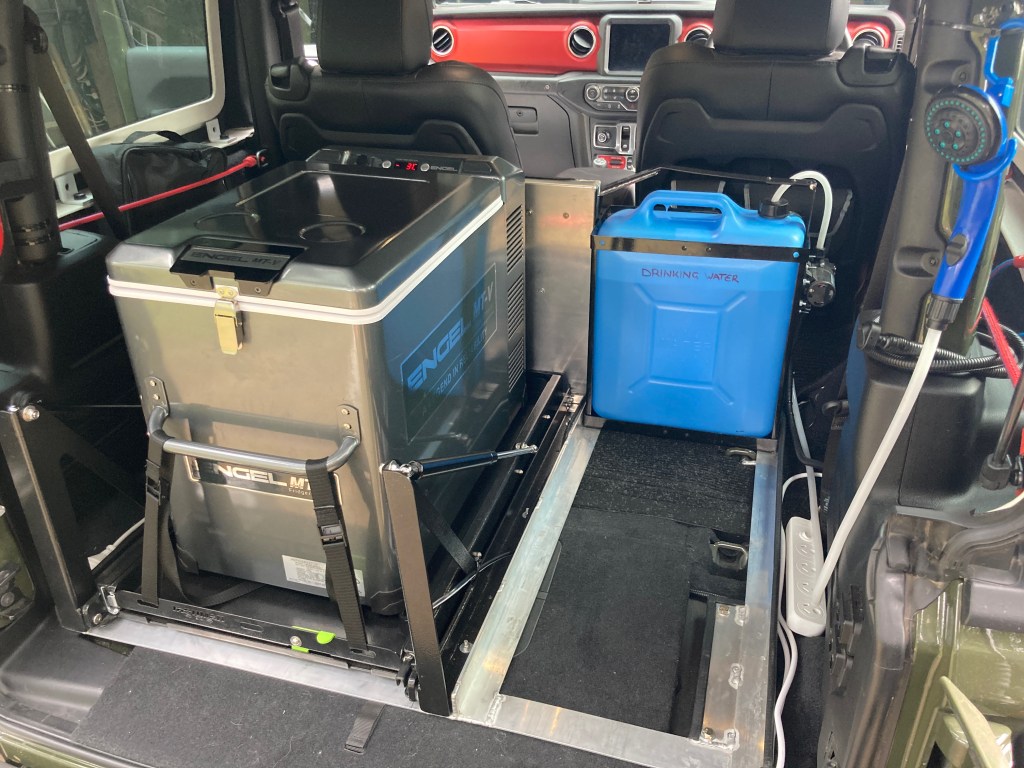
More on upgrading the Wrangler JL in the Build Log.