There are incorrect views about open differentials in the Internet. To this point specifically, a cross-axle open differential provides exactly a 50/50 torque split between each half-axle at all times by design.
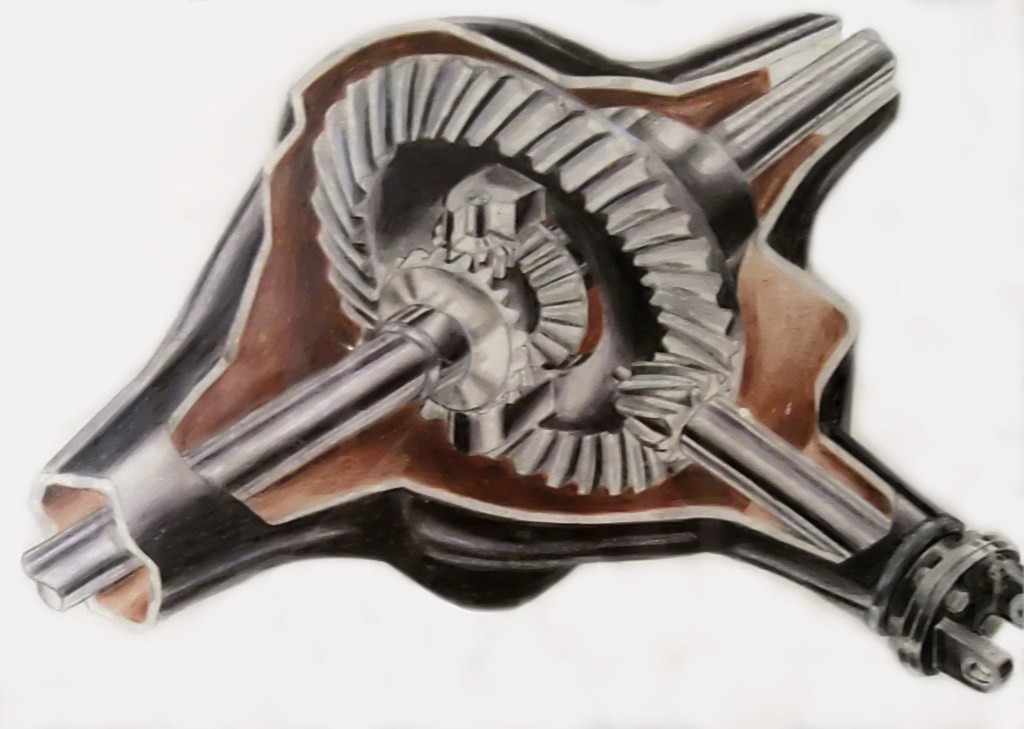
Open Differential – Cut Away View
The differential’s role is to allow each half-axle to travel at different speeds, but the torque split across the half-axle ends is always equal, set by the ratio of the pinion and side gears.
You can Google that “torque split open differential” and there are lots of articles describing the mathematics and engineering behind this fact. Here is one, and here’s another, for example.
If one driven wheel loses traction there is no “torque leakage” out of that wheel. In fact the overall engine torque delivered (or load) drops immediately to zero (excluding parasitic drive-train friction). This is why the engine will rev-up (become unloaded) when a wheel(s) loses traction.
You can test how much reaction torque a free-wheel can produce in your garage by jacking up a front wheel (in 2WD) and using a torque wrench to attempt to loosen the wheel nuts. Measure how much torque you can achieve. This demonstrates that a free-wheel cannot produce a torque reaction.
Traction Control systems and clutch based LSDs use this equal torque split across the half-axles to generate traction, by adding brake friction torque to the free-wheel on the half-axle. This allows the engine to deliver torque to the free-wheel axle and, by design, exactly the same amount of torque to the other half-axle (with the wheel with traction) allowing the vehicle to proceed.
There are only two cases, I’m aware of, where the 50/50 split across the differential half-axles is not designed in. One in the centre differential of various Mercedes Benz AWD systems, where the axle side gears and pinions are built with different numbers of teeth to provide a torque bias to the rear (e.g. 60/40). The other is in Torsen differentials (such as Quaife, Peloquin, Eaton Truetrac brands) which use worm drive mechanics to multiply the torque (described as torque bias ratio) across the differential center.
Anyway, I just wanted to share that since the “torque-leakage” myth pops up all over the place and it is best to put an end to it.
In my previous post on Sleeping Arrangements, I was fairly negative about Roof Top Tents (RTT), citing their detrimental effect on vehicle driving dynamics, vehicle aerodynamics, and also the potential fall danger of sleeping over 2 metres above the ground at the end of a flimsy ladder.
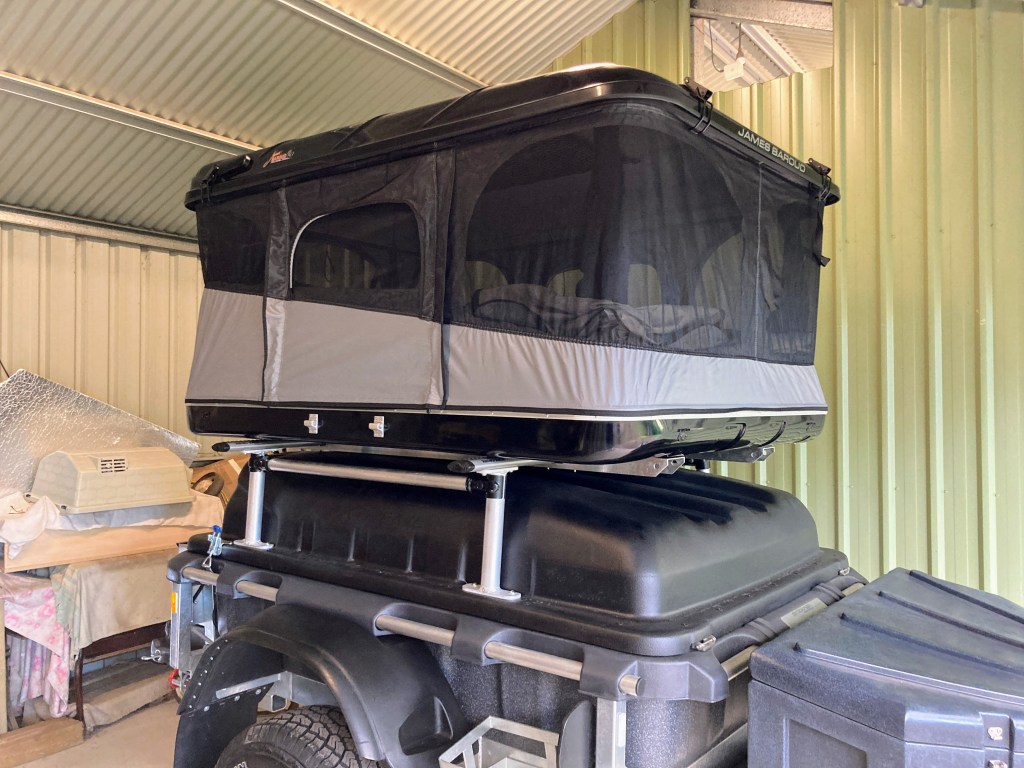
However, I’ve now decided to mount a RTT to the top of my Stockman Pod Extreme. Essentially because mounting the RTT on the trailer removes all of the above mentioned disadvantages, but keeps all the RTT advantages.
The mounting height is less than 1.5 metres above the ground and is barely 40 cm above the top of the trailer load platform. Whilst the 60 kg of the RTT will affect the trailer dynamics, in the case where the trailer cannot follow along, it can be left behind at camp leaving the vehicle dynamics unaffected. The highest point of the RTT is lower than the vehicle roof line, and the selected RTT is quite streamlined, so the overall aerodynamics should not be significantly worse than they already are (considering both vehicle and trailer are pretty much brick shaped anyway).
The most important benefit of fitting the RTT to the trailer is that at just 1.5 metres off the ground a fall is substantially less dangerous.
To further reduce the danger of falling, I’ve decided to fit my RTT so that the entry will be from the rear using a set of well formed, large and stable steps. This rear entry concept does have an impact on the method I’ve chosen to fit my RTT to the trailer.
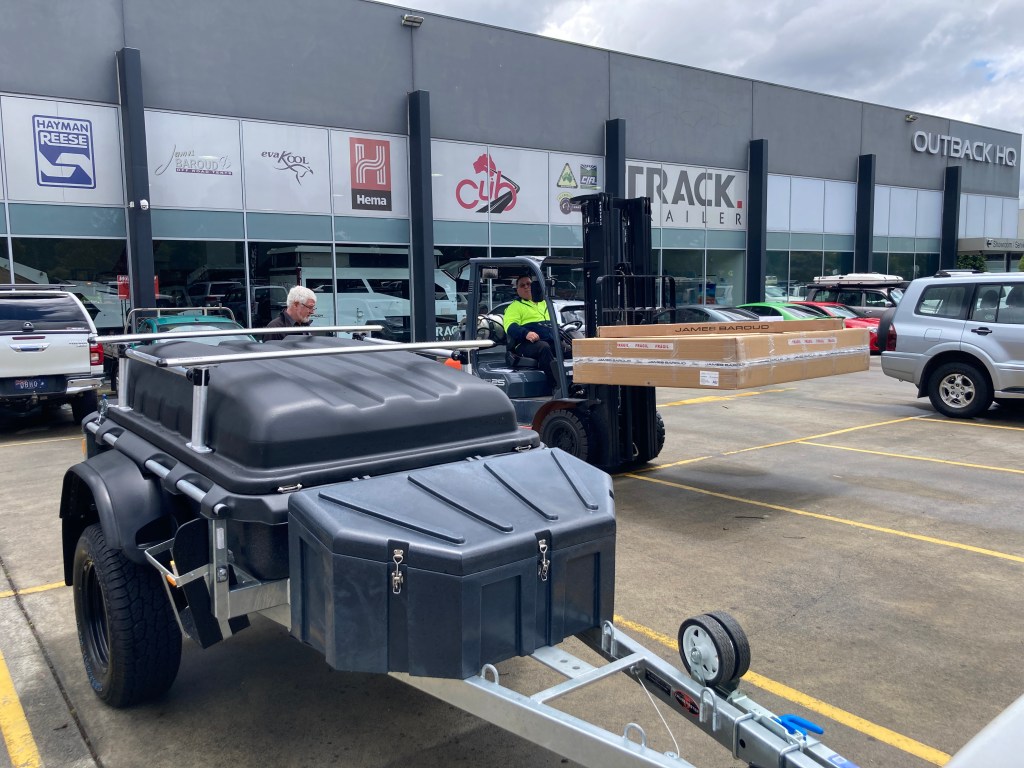
I’ve chosen to use a James Baroud Evasion M Evo, based on good reviews and inspecting the options available at retailers around Melbourne. I purchased my RTT from Outback HQ, and I’m very happy with their customer service.
Taking Delivery
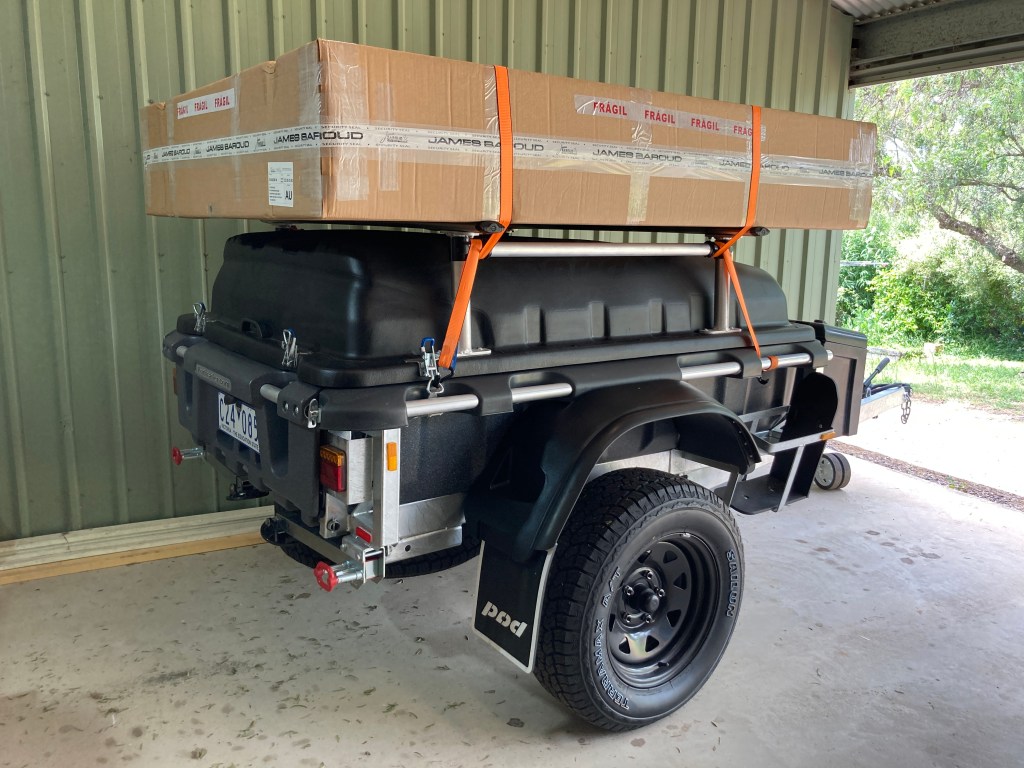
Following delivery of my Stockman Pod Extreme, the large cardboard box was placed on top and secured for the drive home.
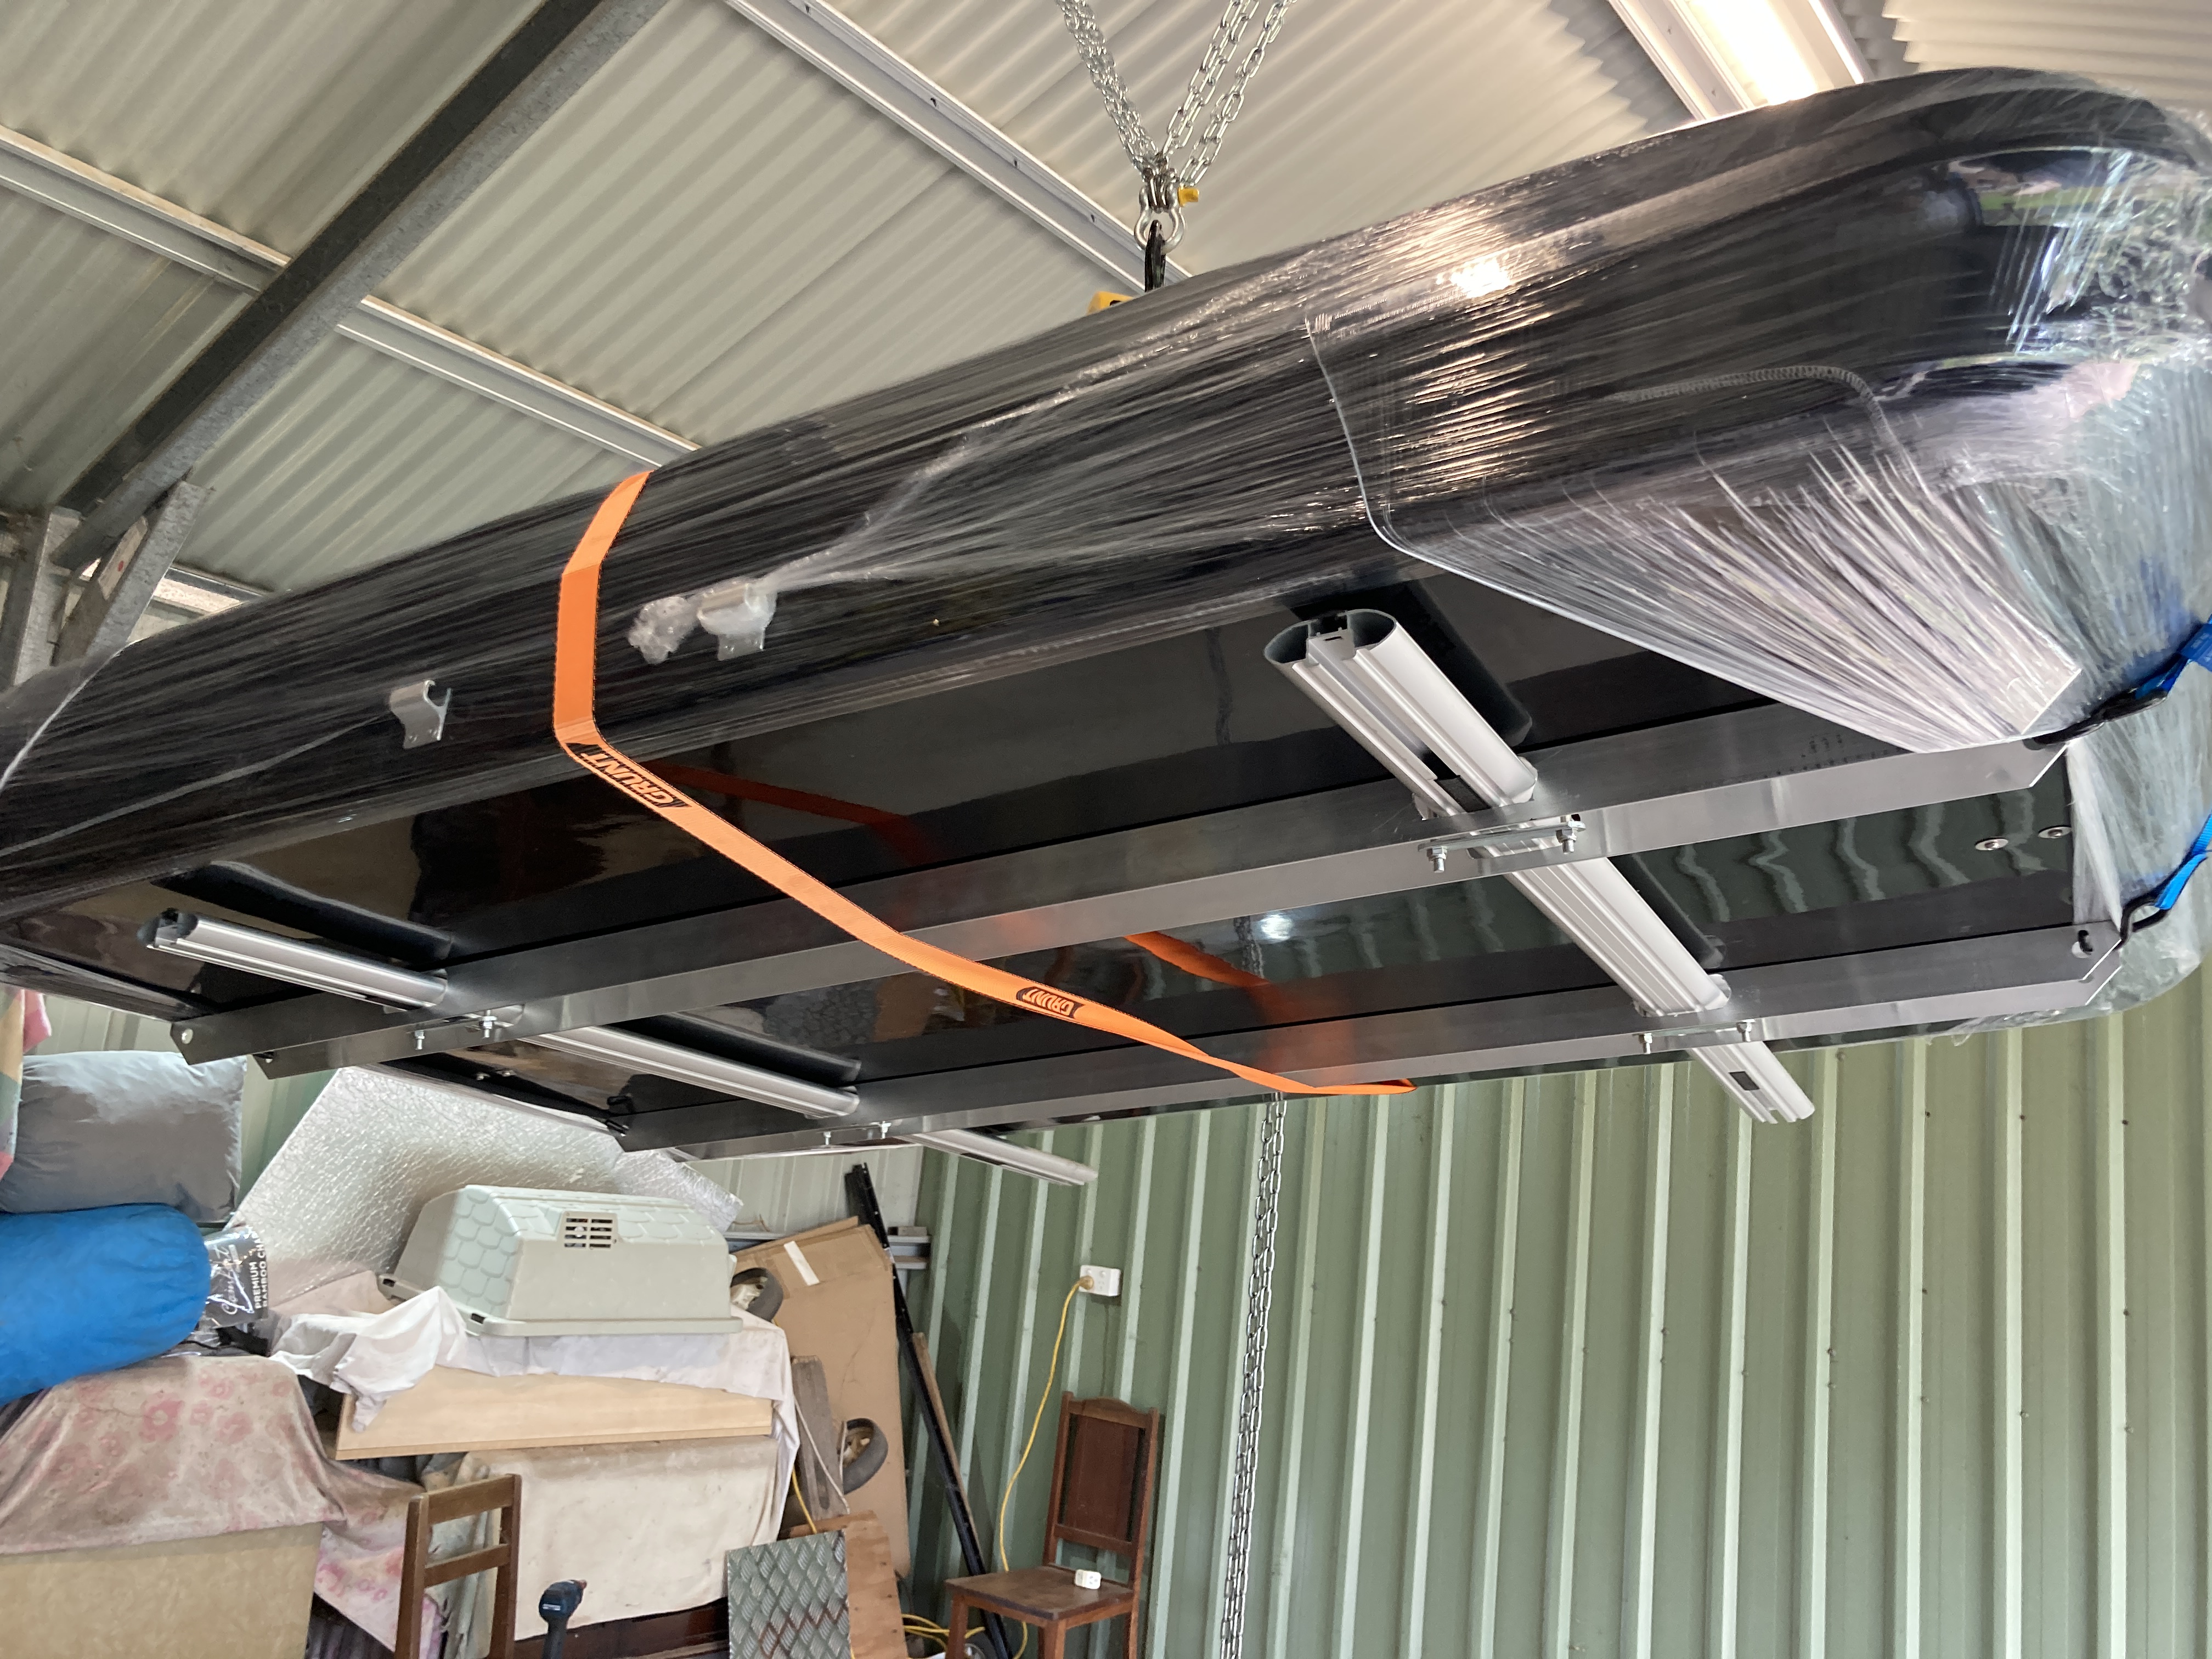
Fortunately there was no further excitement until I was able to crane off the RTT and get to work mounting it.
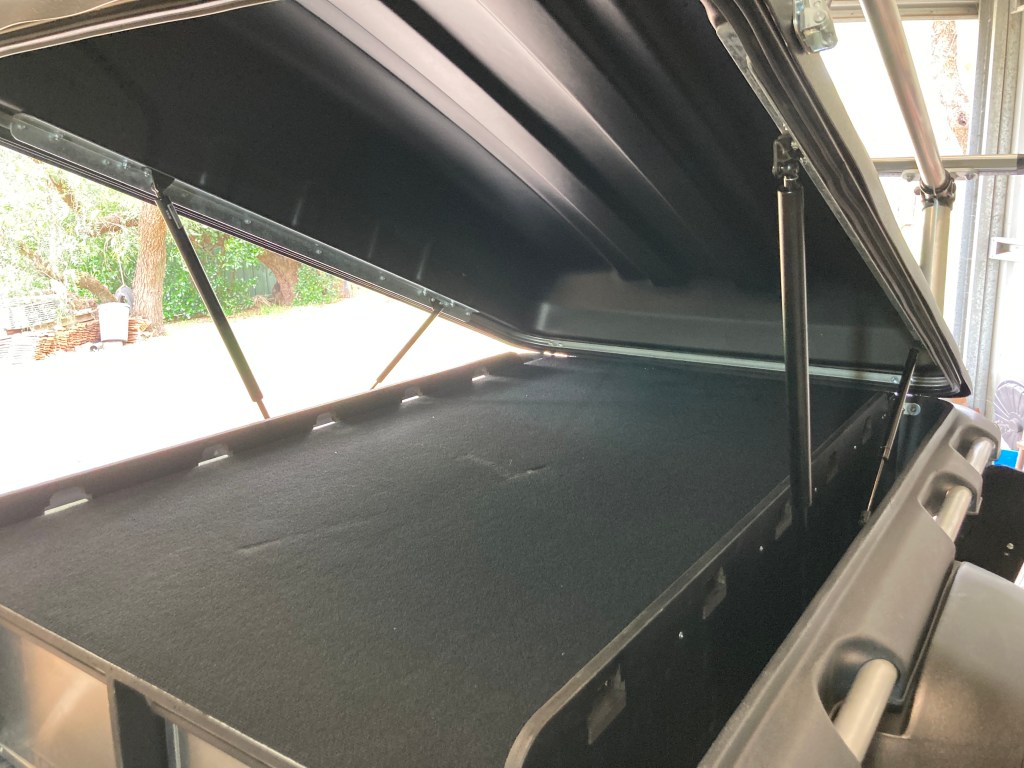
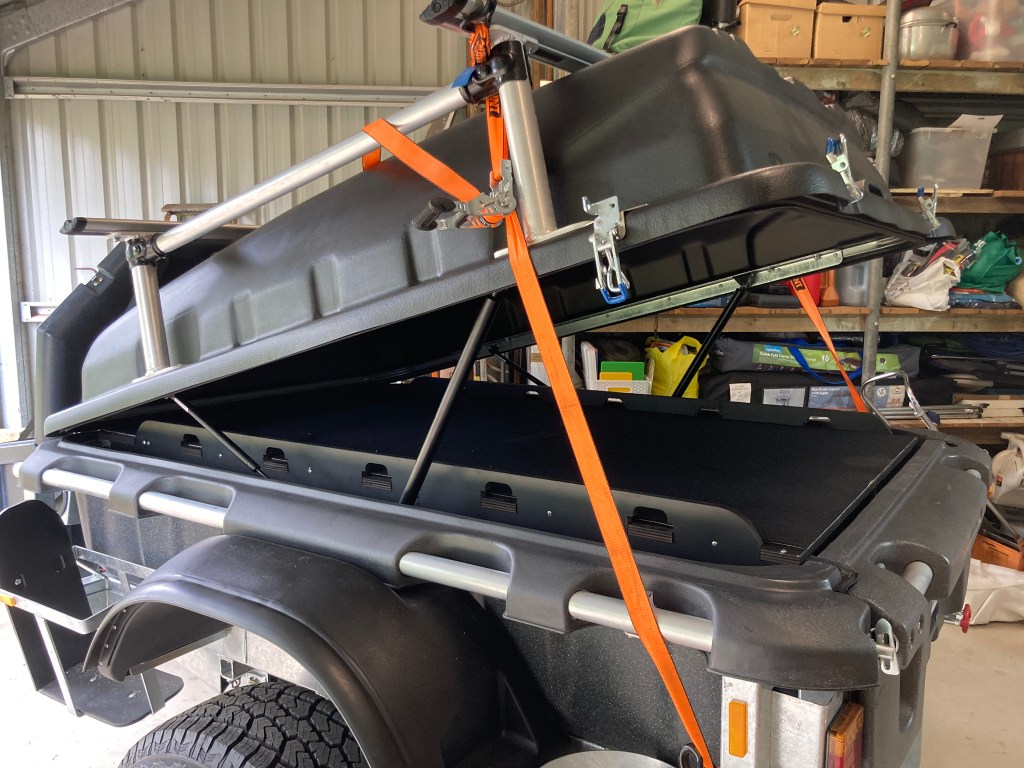
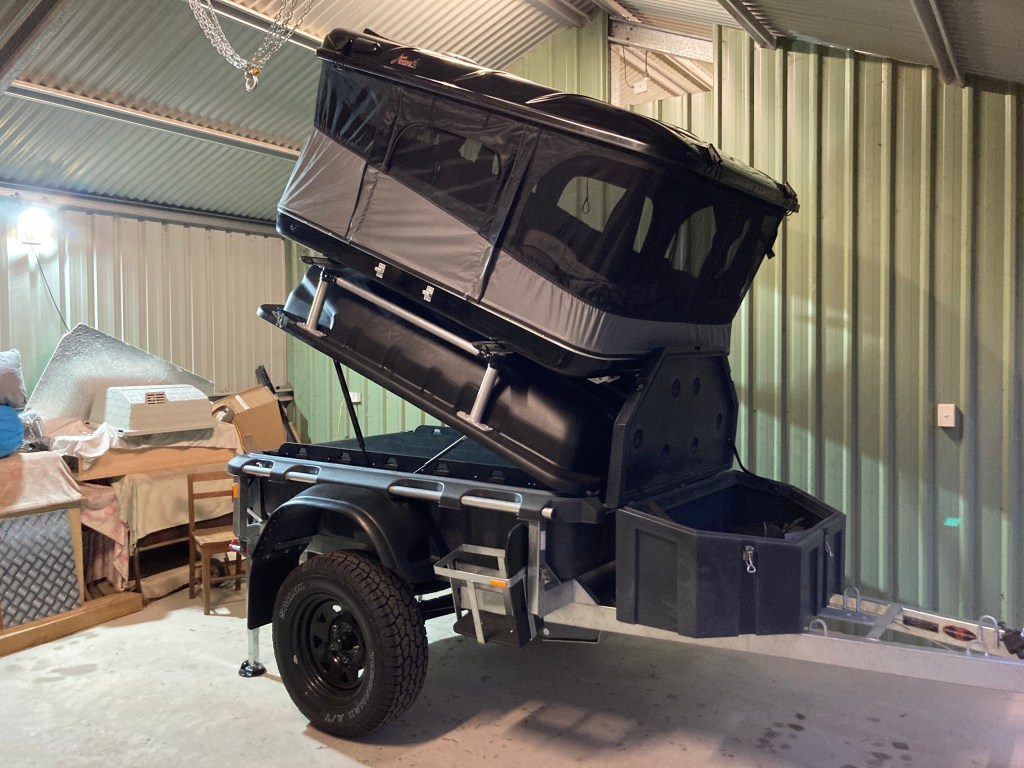
Firstly the Stockman Pod Extreme RTT Upgrade gas struts needed to be attached to their mounting points in the lid of the trailer. If they weren’t added before the RTT was fitted then the smaller standard struts (which remain) wouldn’t be able to lift the lid with the tent. Adding the heavy duty struts costs some access to the trailer, by reducing the angle of the lid, but it is not significant.
However, with the heavy duty gas struts in place, the lid needed quite some encouragement to close. I needed to juggle ratchet straps to close it down.
Rear Entry Reinforcing
Usually Outback HQ recommends that the James Baroud M sized tents need just two bars, but they should be widely separated. Larger sized RTTs need to have three bars to support them properly.
With the Stockman Pod the Rhino Aero bars are just 1.5 metres apart, which is quite close but not an issue normally. However, as I was planning to use the rear entry of the James Baroud Evasion RTT there would be quite a lot of load over the end of the tent, out beyond the internal aluminium rails integrated into the tent under-shell. This could lead to cracking the outer shell in the worst case.
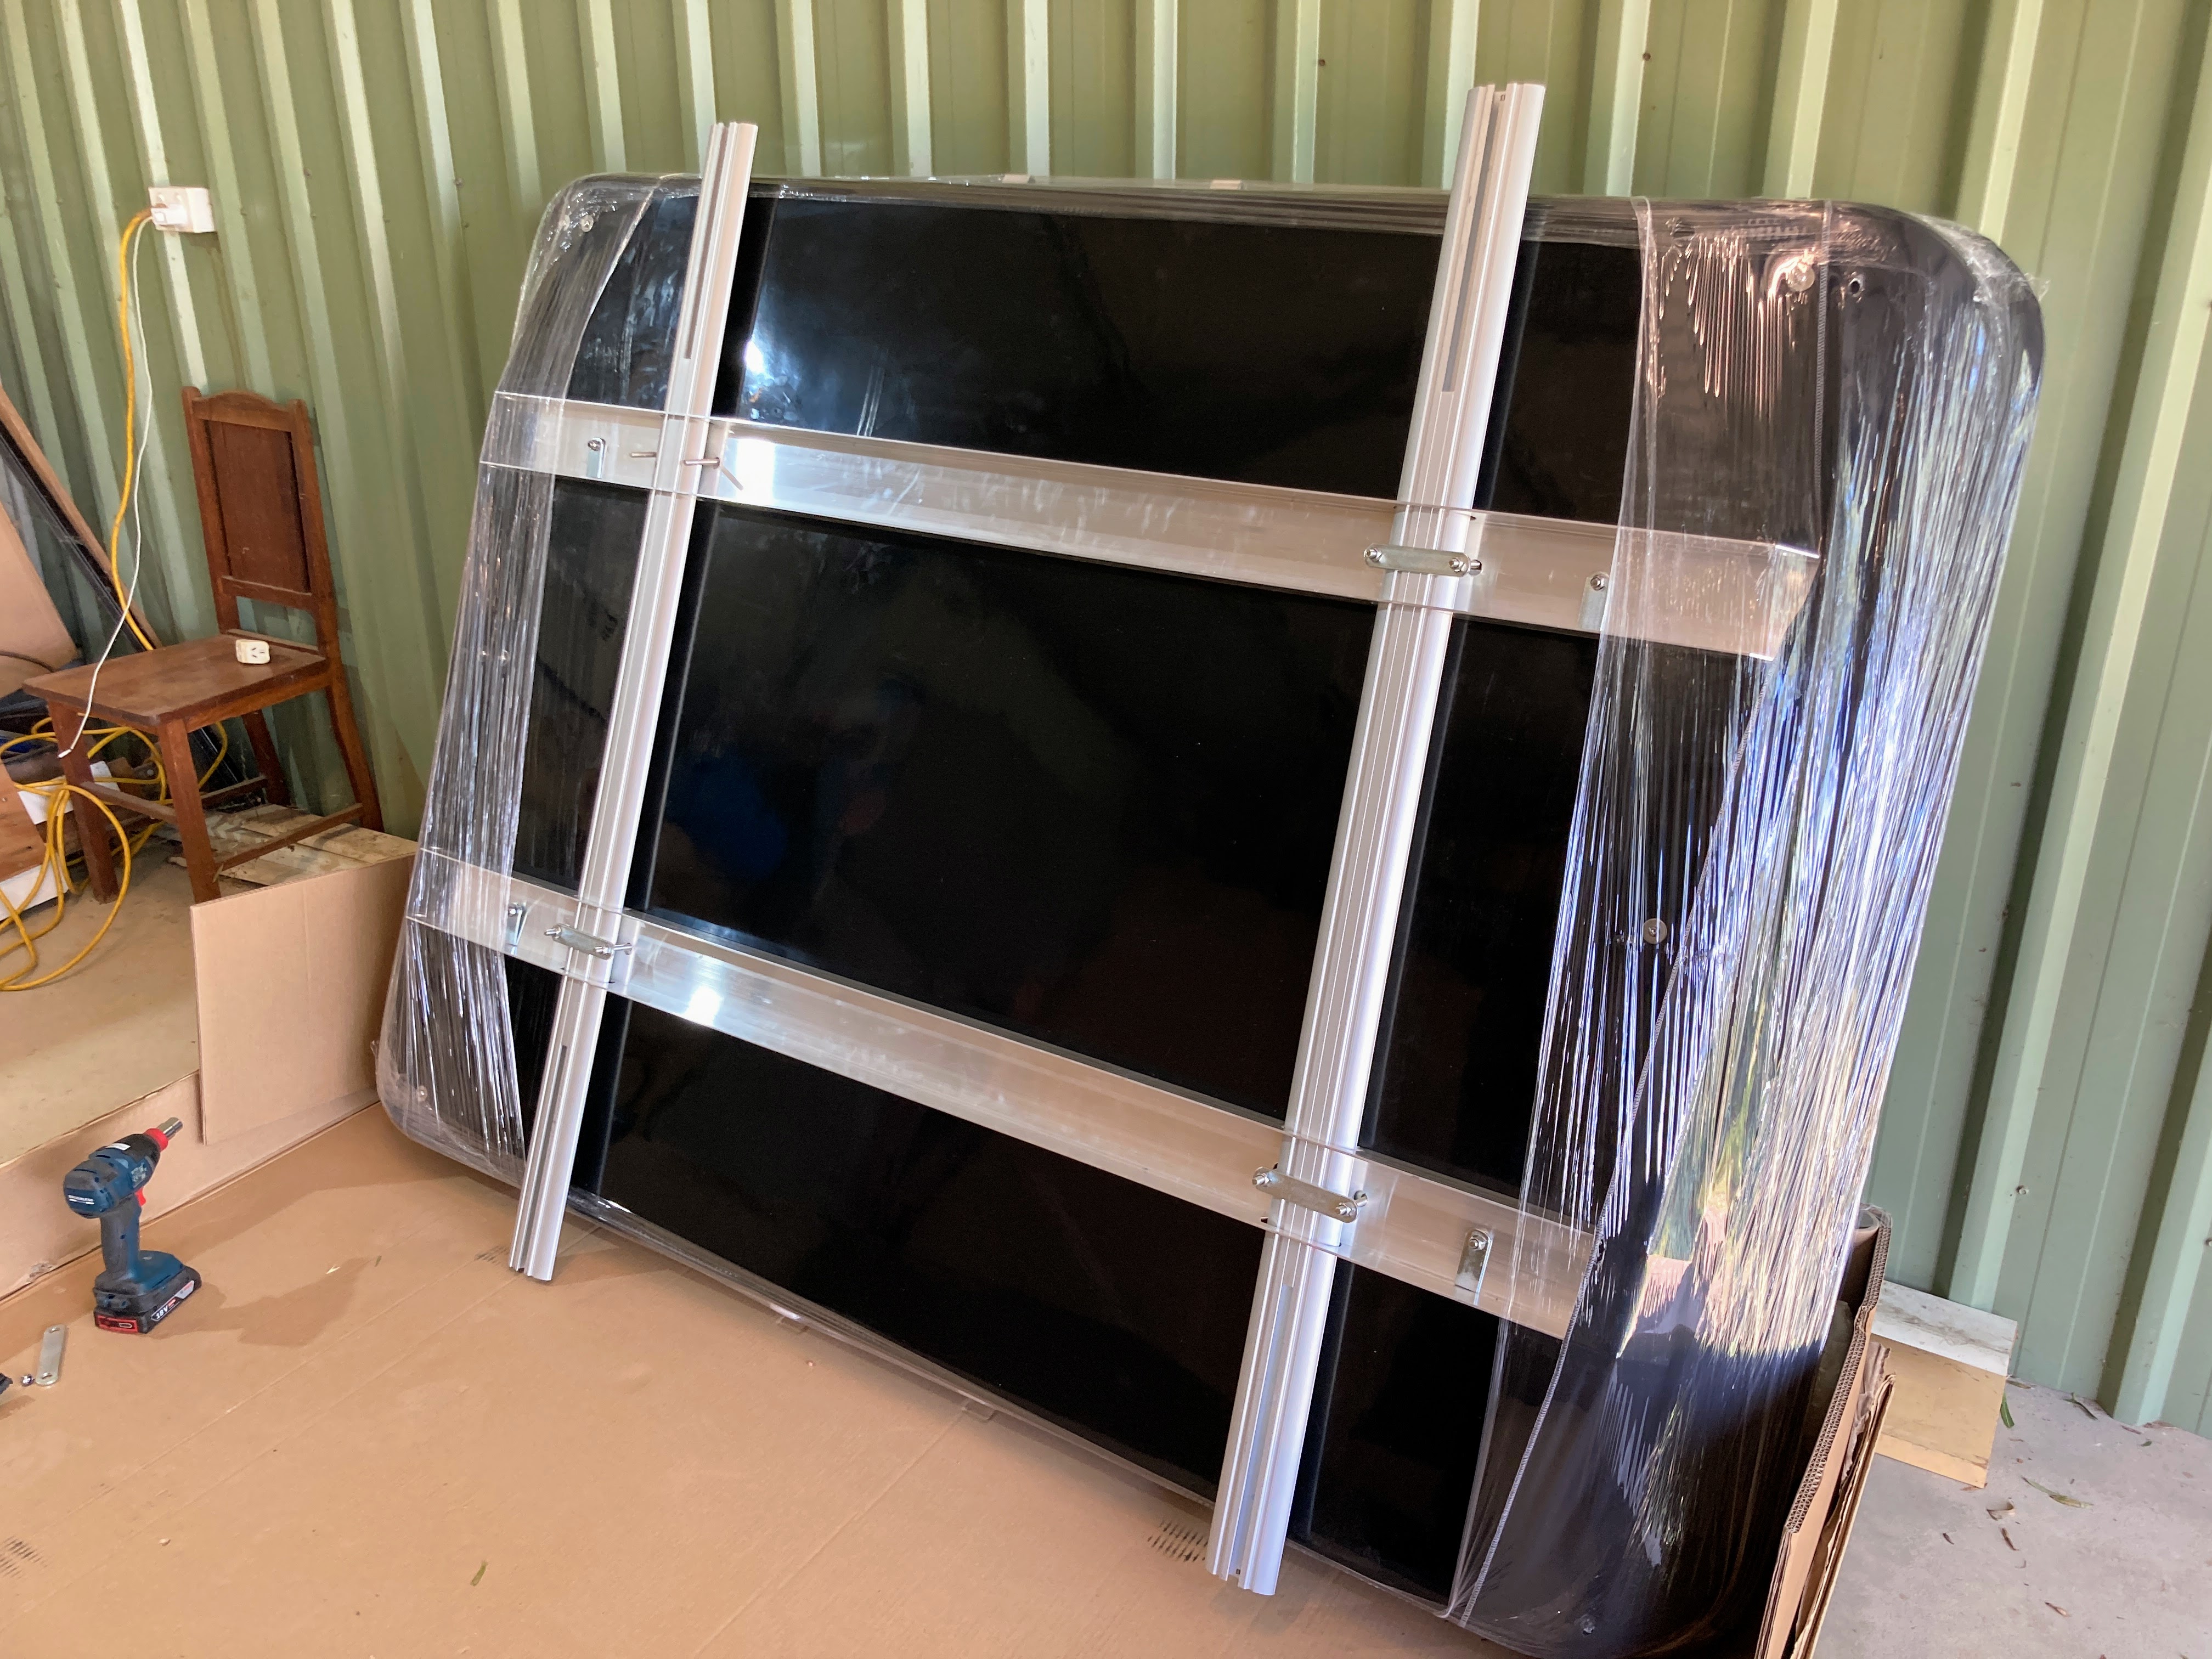
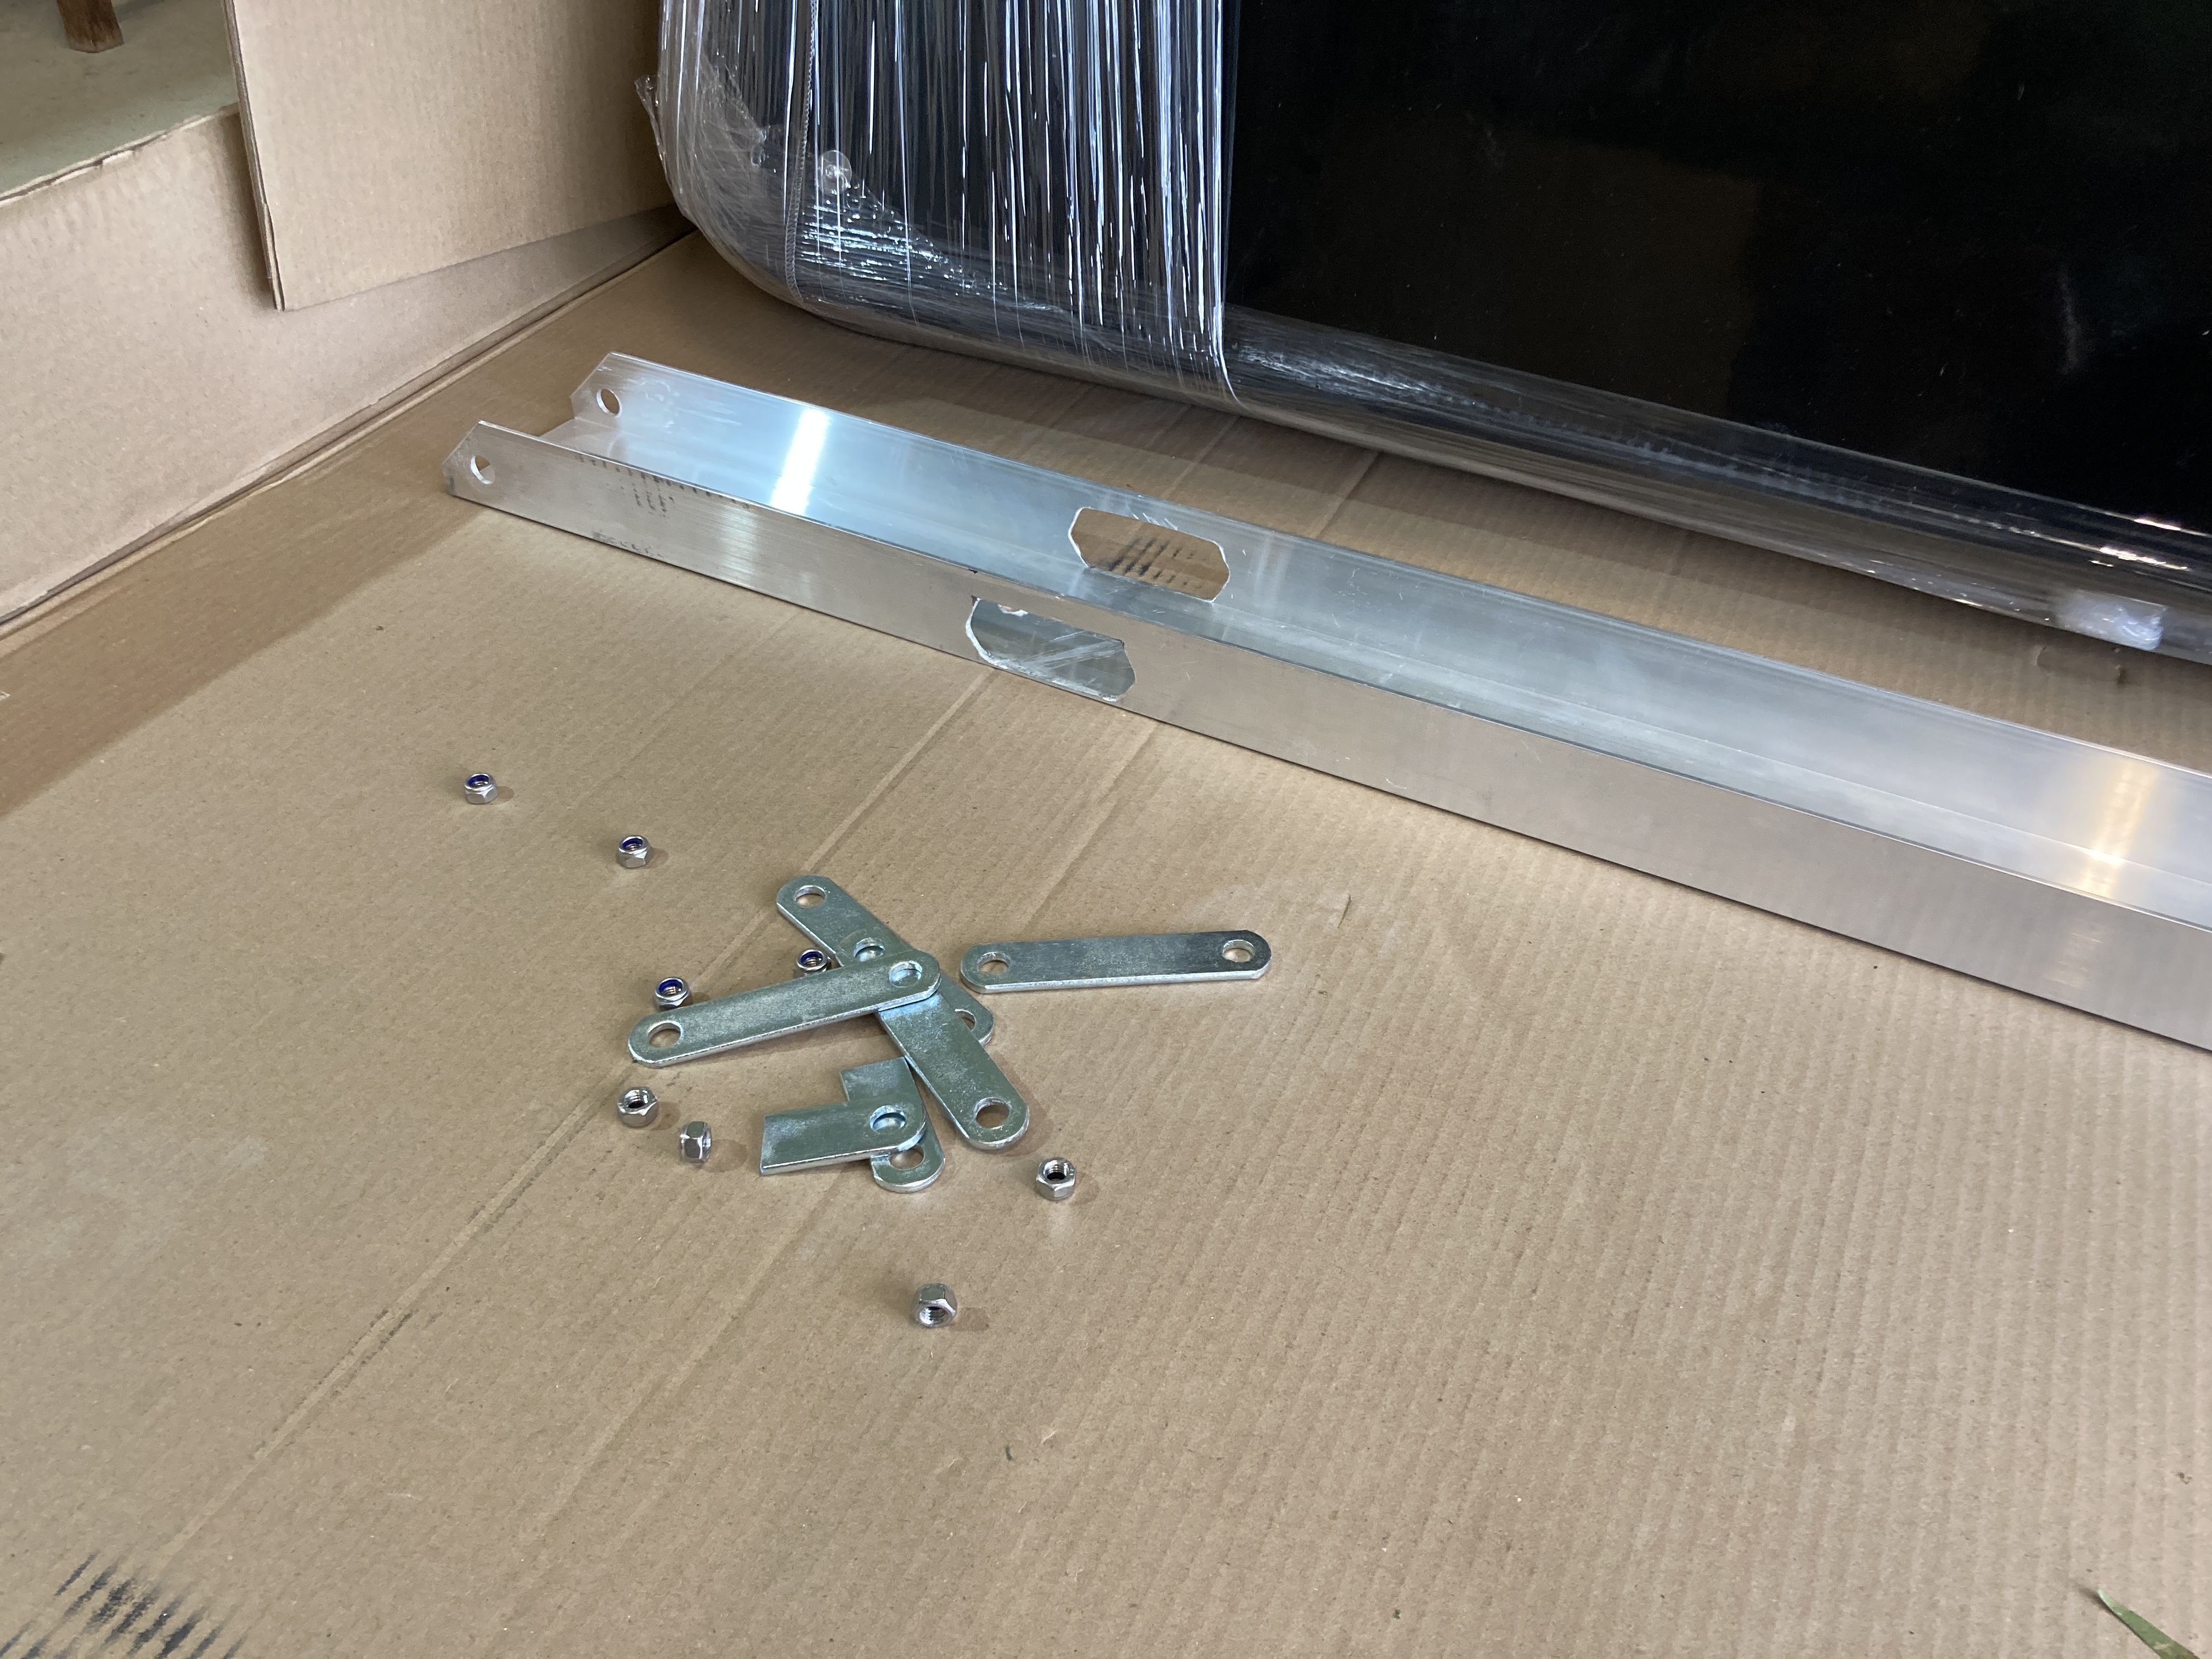
To provide an additional layer of strengthening to both front and rear of the RTT, I have added full length aluminium beams under the existing integrated rails but extending to the end of the tent shell at both front and rear. This provides full support for sitting on the rear ledge of the tent (when entering or leaving), and also provides additional strengthening for the entire mounting system.
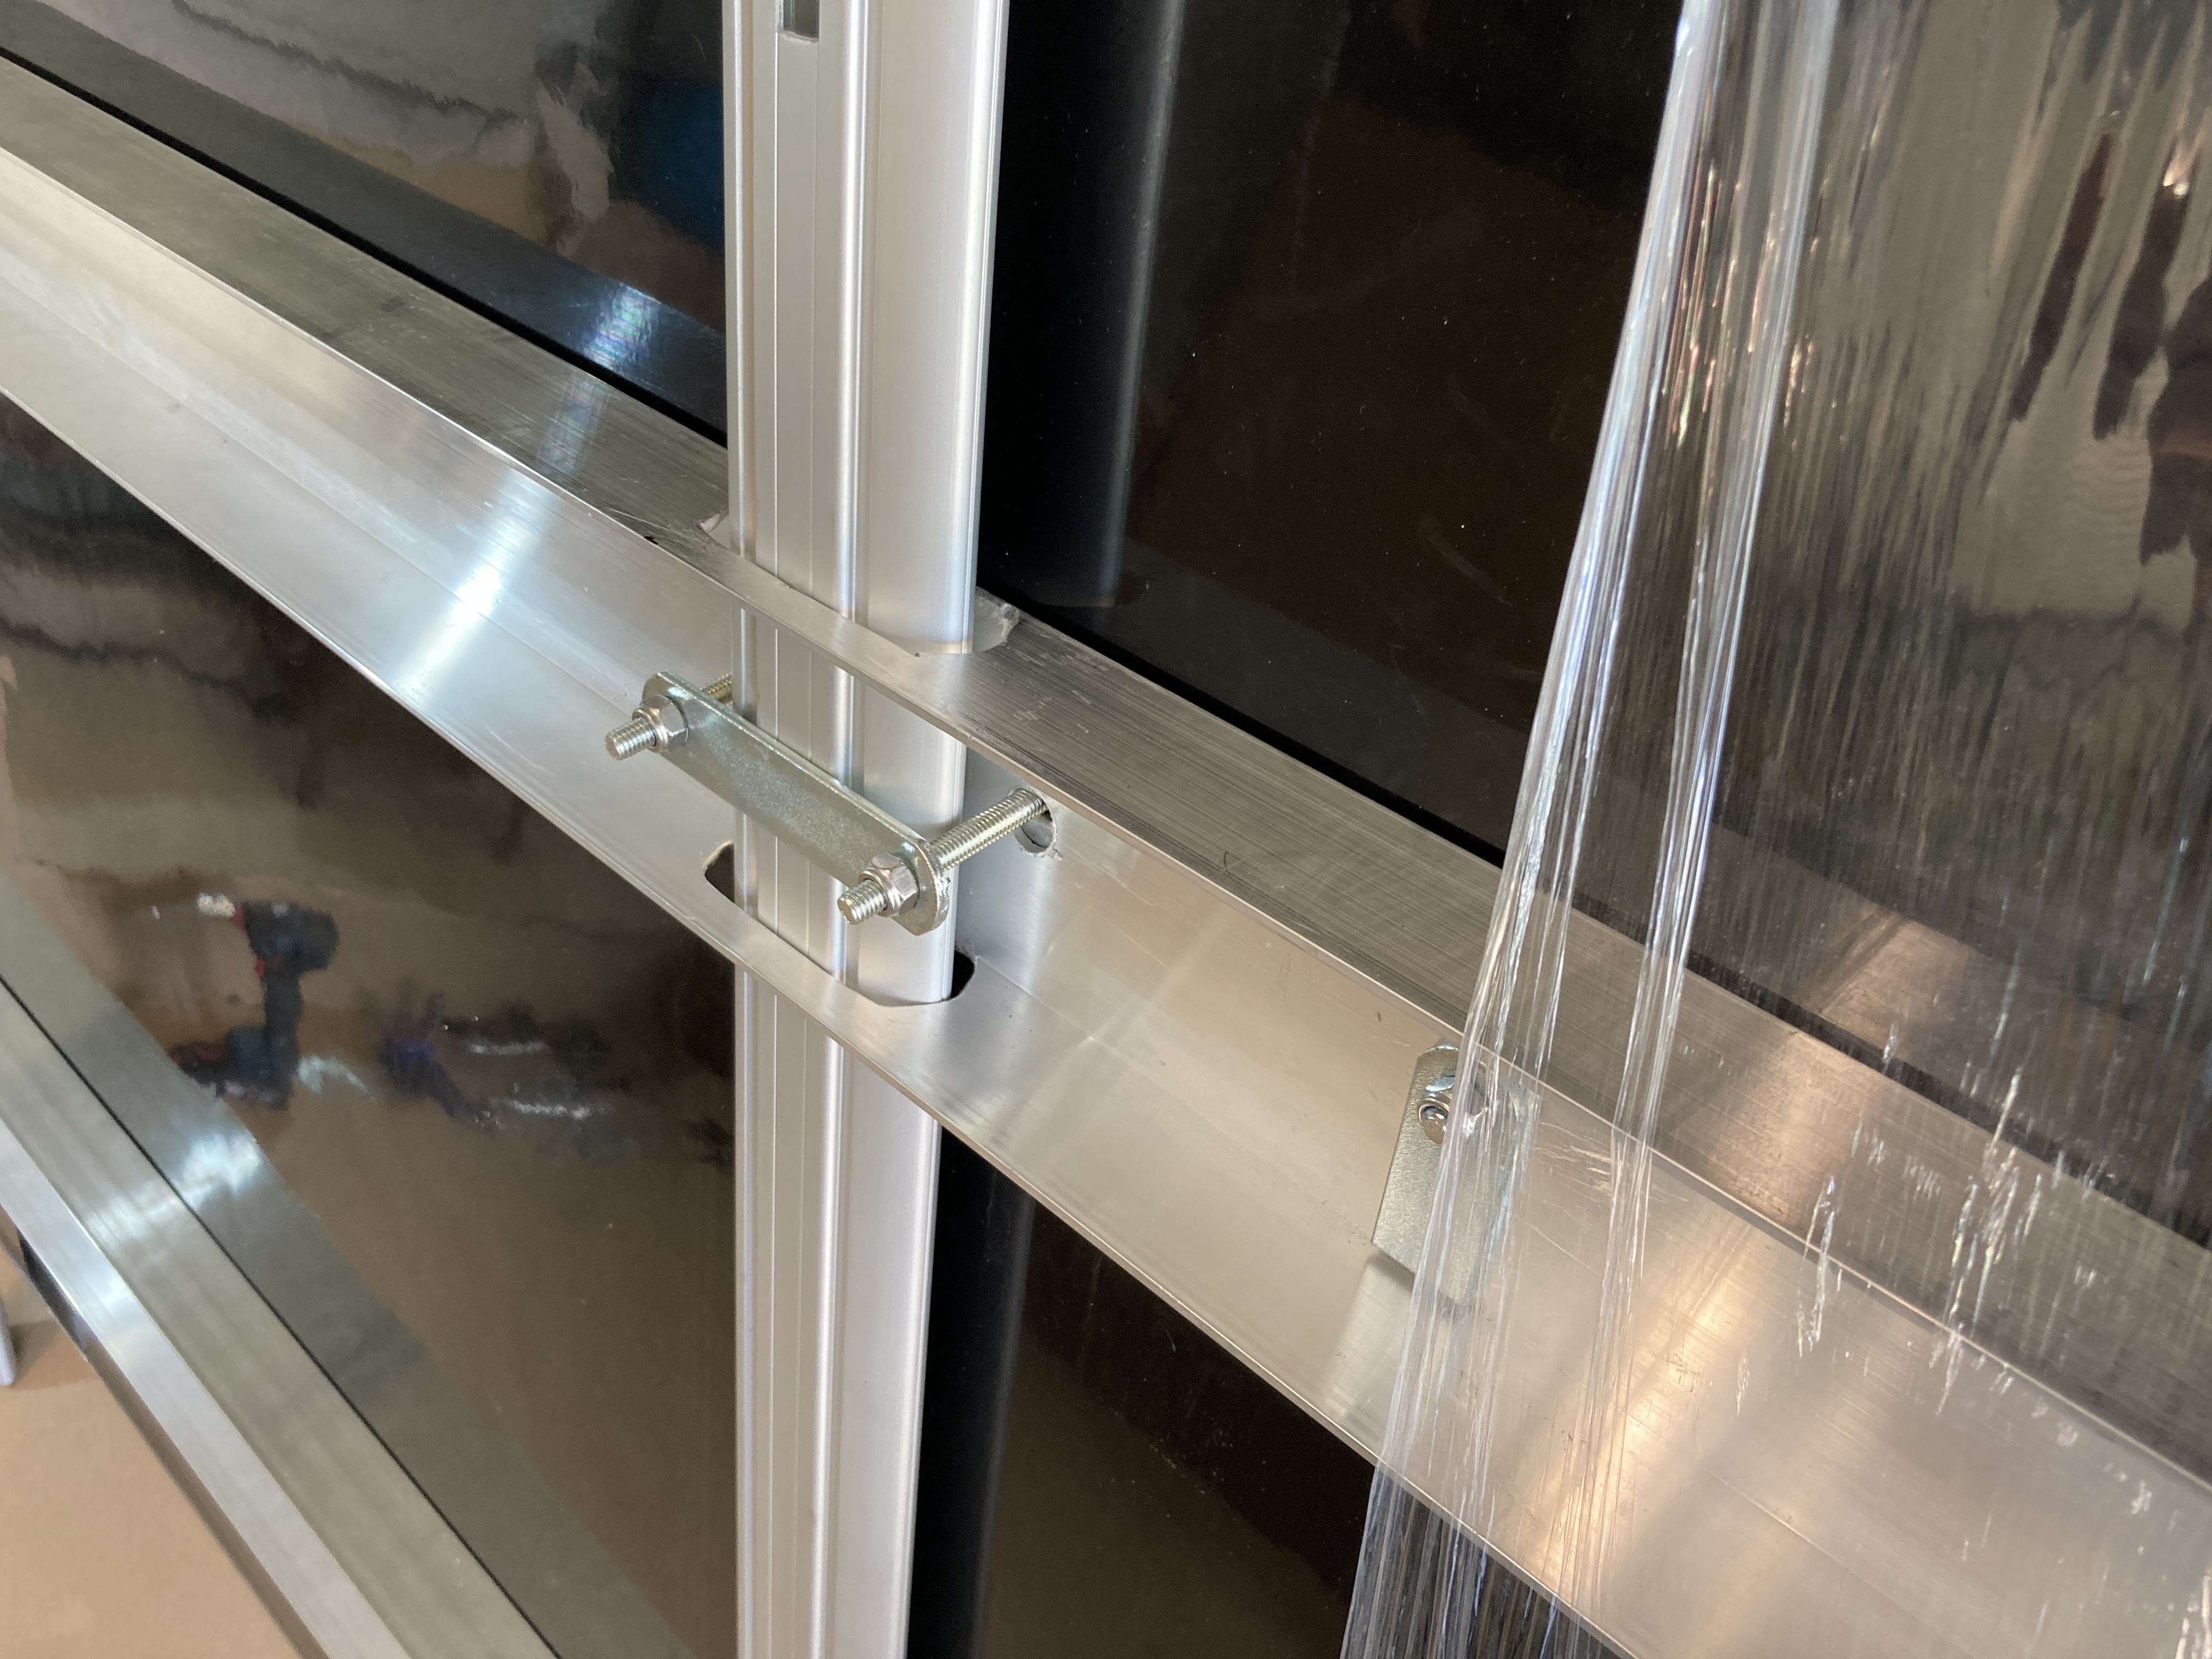
I chose to use 100mm x 50mm x 3mm thick aluminium channel. This is the largest channel shape that can fit between the top of the Stockman Pod Big Top Lid and the top of the Rhino Aero bar on which the RTT would be mounted. As the Aero bar is only 40mm thick, this left 10mm of material on both sides of both channels to provide the end-to-end strength that I desired to achieve.
Overall, this mounting method adds significant strength and security to the whole build. The RTT cannot “lift off” the bars, as the Aero bars are inserted through the channel rails which are tied at multiple points to the RTT chassis rails.
Now the trailer lid can be comfortably opened and closed with the RTT fitted, either stowed or open. With the RTT stowed or even opened, the front tool box can be opened too.
Building Rear Step
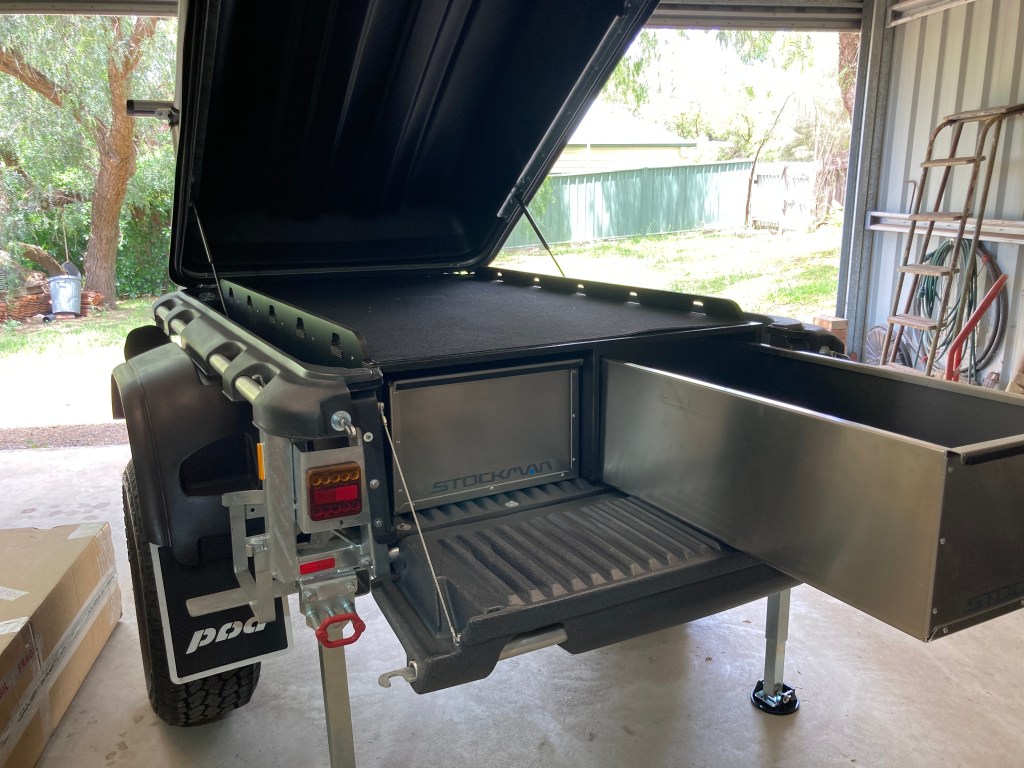
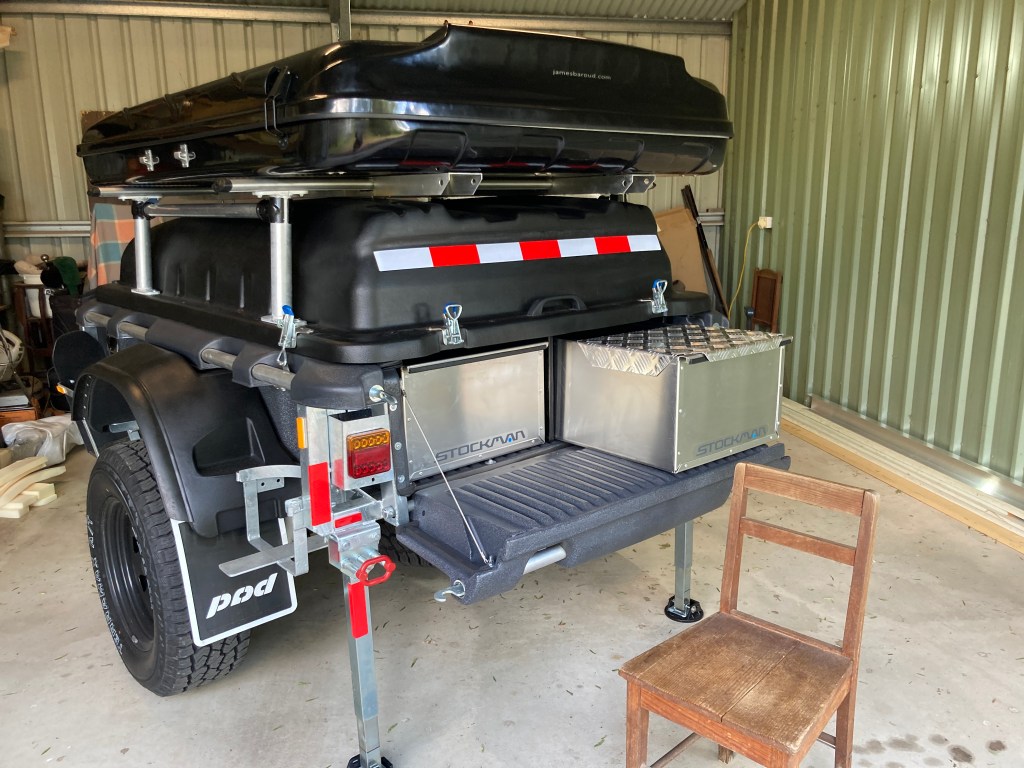
My Stockman Pod Extreme is fitted with the plywood storage shelf and two aluminium storage bins, as well as the standard fold down tail-gate. These conveniently provide two large and stable steps up to the RTT. In addition only a low stool or step is needed for the first step up to the tail-gate.
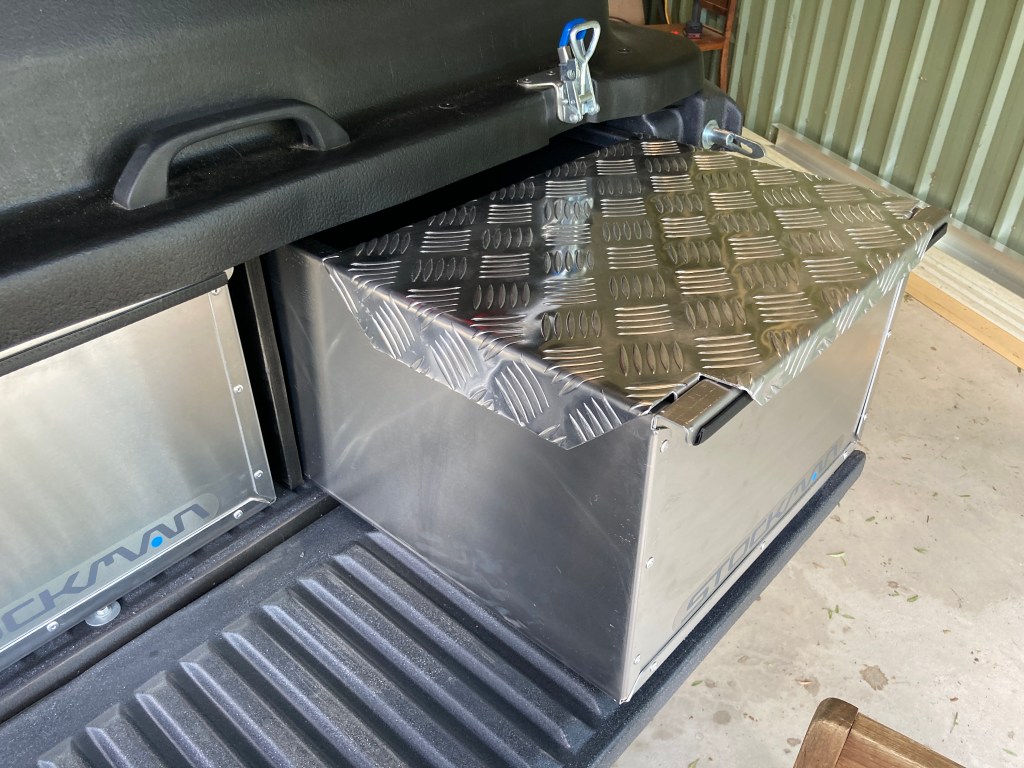
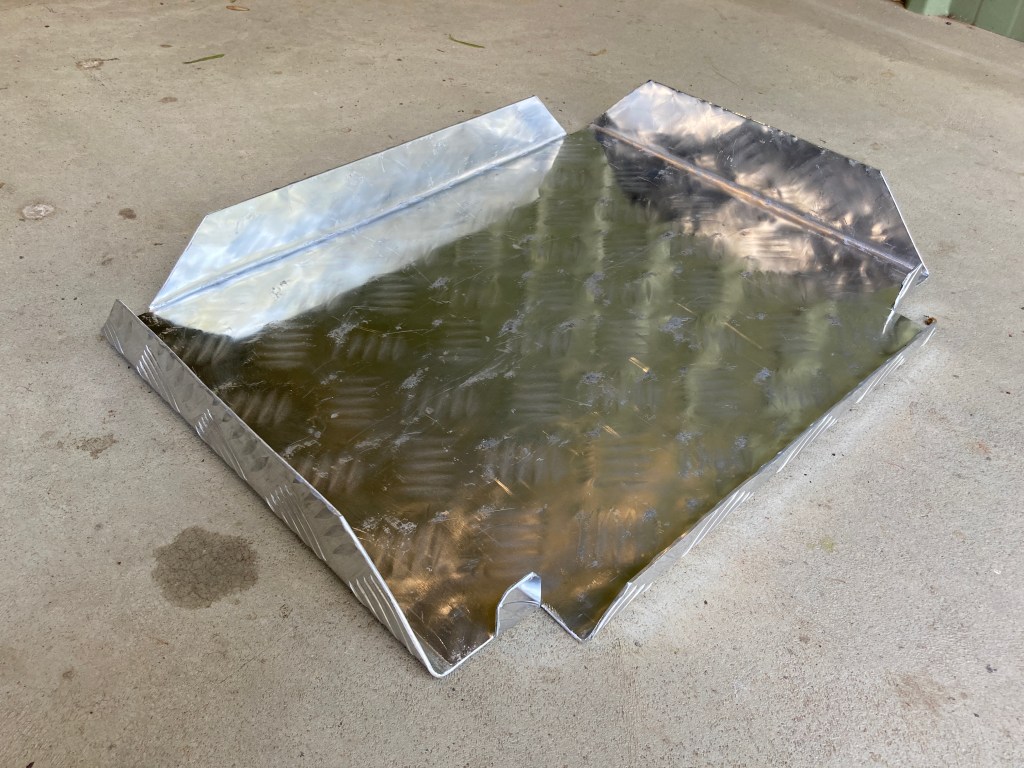
So all that was needed was to turn the top of the storage bin into a large step. This was done with a sheet of 2mm thick aluminium non-slip tread plate, carefully cut, and folded for strength, and fitted across the top of the storage bin. As a side benefit, the aluminium step can be stored in-situ on the storage bin so it takes no space to transport.
Obviously, the wooden school chair photographed is not a permanent solution. I will get a work step or stool that can be used to provide one or two steps up to the tail gate. The tail gate makes a safe stoep to leave boots and mud before stepping up into the RTT via the storage bin step.
To exit the RTT it is just a matter of sitting on the edge of the tent shell and your feet naturally find the top of the storage bin step, and you can stand up (preferably holding onto one of the tent roof struts for stability), before stepping down to the tailgate. It is even possible to sit on the storage bin lid when pulling on boots.
I would also point out that the aluminium storage bins are 2 metres long, and are contained within a structural case. The storage bins are designed to hold well over 100 kg of items. The step could be used with the storage bin extended by over a 1 metre (rather than just the depth of the tail gate, about 40 cm). So, the step is quite strong and overall using this rear entrance to the RTT is much safer than the standard folding aluminum ladder.